Now that we have a Basic Workflow in place, let's "attach" it to a particular permission on a page. Let's browse to a page that we want to include in our Quality Assurance workflow and take a look at its Permissions:
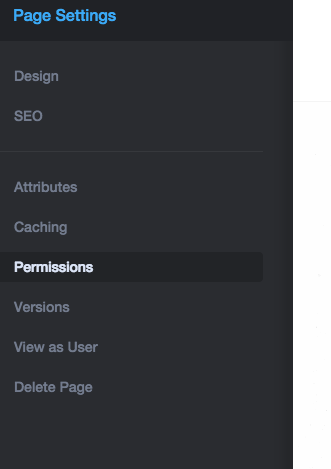
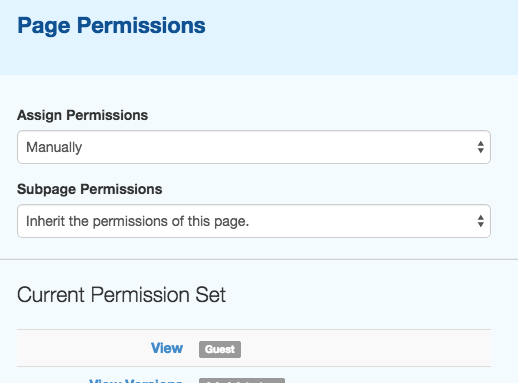
First we'll set the permissions to Assign Permissions: Manually. This will let us customize settings for this particular page (rather than inherit its permissions based on another page).
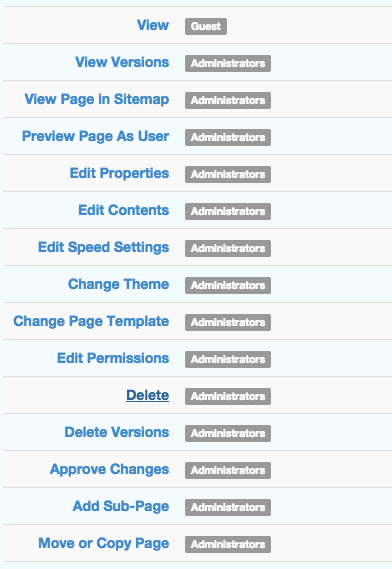
Now we can select a permissions item from our list in the left column. Let's say we want our Editors group to manage how our Writers group has been deleting pages in our site. We'll click "Delete" from down towards the middle of our list.:
First, let's make sure our Writers group has access to perform this action at all. We'll add their group as an access entity:
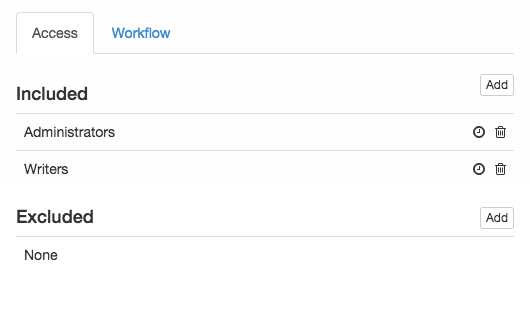
Now let's attach this permission to our workflow. Click the Workflow tab in the screenshot above. A list of available workflows appears:
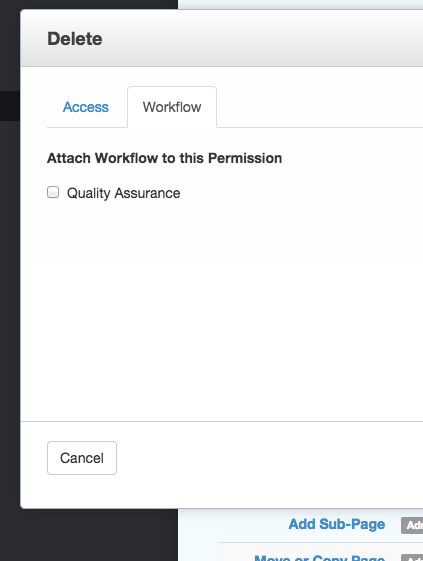
Check the checkbox for Quality Assurance, then Save, and any attempts to delete this page will now trigger our workflow.
Permissions items managed by versions
Some page permissions will not have a Workflow tab present. This is because these items represent page properties that are managed by Versions in Concrete CMS. If you need to use a workflow to manage any of the following permissions, you'll need to attach the workflow to the Approve Changes permissions item.
You'd then want to grant the users whose work you want to approve / deny access to each permissions item (Edit Contents, Edit Properties). Together, your users will be able to change pages and then submit their changed to the approval workflow.
The following Permissions are managed by Versions:
- View
- View Versions
- Preview Page as User
- Edit Properties
- Edit Contents
- Edit Speed Settings
- Change Theme
- Change Page Type
- Add Sub-Page
- Schedule Guest Access
Now that our workflow is attached to permissions, what happens?
In the next section we'll show what happens when someone from our Writers group tries to delete this page.