How Can I Change The Maximum Size Of Uploaded files

This tutorial is over a year old and may not apply to your version of Concrete CMS.
Dec 13, 2022

To change the maximum size of uploaded files in Concrete CMS, you can follow these steps:

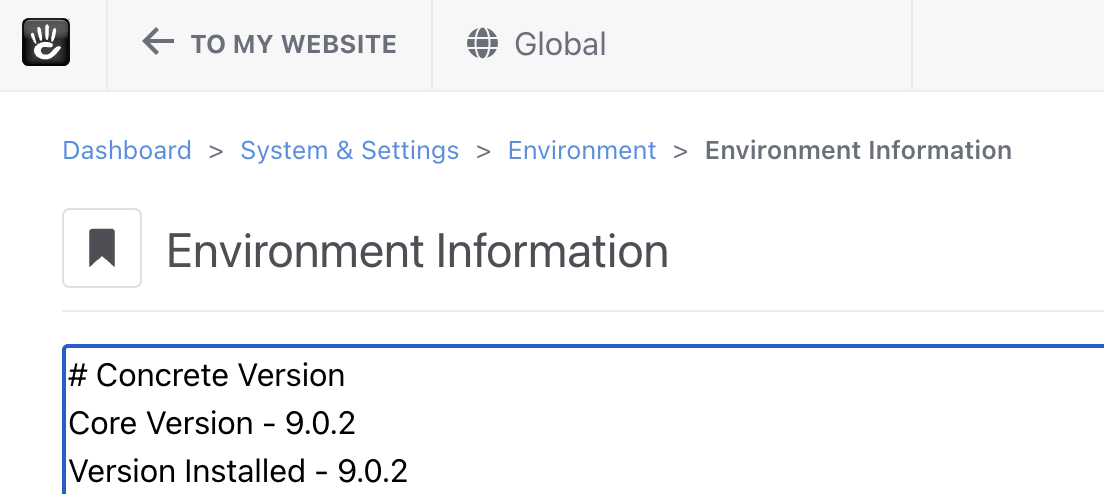
Check your current PHP settings by navigating to Concrete CMS Dashboard > System & Settings > Environment > Environment Information. Make note of the existing values for memory_limit, post_max_size, and upload_max_filesize.
If you are using cPanel, you can edit these settings in the multi-PHP editor. Login to cPanel Navigate to cPanel > Software > MultiPHP INI Editor for cPanel.

Choose the Editor Mode tab and add the desired values for memory_limit, post_max_size, and upload_max_filesize.

If you are not using cPanel, you can edit the .htaccess file to adjust these settings. Access the .htaccess file via SFTP or your hosting provider's file manager and add the following code at the bottom of the file:

php_value memory_limit = 128M php_value post_max_size = 100M php_value upload_max_filesize = 100M php_value max_execution_time = 30

Remember to replace the example values with your desired values, and ensure that memory_limit is larger than post_max_size and upload_max_filesize.

Recent Tutorials
Customize locale icons
Oct 29, 2024
By myq.

How to customize locale (language region) flags

Concrete CMS Caching Guide
Oct 16, 2024

An overview of types of caching in Concrete and considerations when using them.

Redirect all requests to HTTPS
Oct 9, 2024
By myq.

How to follow best practices for a secure web

Upgrade Concrete versions 9.3.1 and 9.3.2
Sep 10, 2024
By myq.

How to get past a bug in versions 9.3.1 and 9.3.2 that prevents upgrading the Concrete core through the Dashboard

How to use Composer with Marketplace extensions
Aug 22, 2024

Composer can be used to manage third-party extensions from the marketplace

Controlling Google Tag Manager Tags Based on Concrete CMS Edit Toolbar Visibility
Aug 13, 2024

This document provides a step-by-step guide on how to control the firing of Google Tag Manager (GTM) tags based on the visibility of the Concrete CMS edit toolbar. It explains how to create a custom JavaScript variable in GTM to detect whether the edit toolbar is present on a page and how to set up a trigger that ensures GTM tags only fire when the toolbar is not visible. This setup is particularly useful for developers and marketers who want to ensure that tracking and analytics tags are not activated during content editing sessions, thereby preserving the accuracy of data collected.

Improvements?

Let us know by posting here.