Concrete Multisite is a feature that allows you to run multiple sites off a single installation of Concrete.
Prior to version 9, the Domain Mapper add-on enabled a single Concrete installation to route multiple domains to different top level pages. In version 9, this feature is fully included, and allows content editors to set up different types of sites, default permission groups across sites, default site attributes per site type, and more.
With all sites under one shared set, Multisite makes it easy to spin up clone sites and reduce the time needed to update Concrete, themes and packages.
When should you use Multisite?
Multisite configuration can be extremely helpful in certain cases, but in others it can lead to administrative problems. It’s important to understand what Multisite is and what problems it was designed to address before you make the decision to use it. Concrete Multiple Site Hosting is best to use when you’re creating a network of sites sharing similar functionality. Ideally, this similar functionality has been added through Blocks and themes. If your sites consist of widely different sites and their functionality, then multisite is not a good fit for you.
Before you Begin
Before you begin, you need to make sure that you have added a canonical url for your main Concrete installation. In the Dashboard, Go to System & Settings > SEO & Statistics and click on URLs and Redirection. Add your site canonical/main URL, and click the Save button.
Next, you must enable advanced permissions. To turn ON the advance permissions, from your Concrete Dashboard go to System & Settings > Permissions & Access, click on Advanced Permissions and then Enable Advanced Permissions.
Enable Multisite and Set it Up
Before you start creating Multisites on your Concrete installation, let’s first enable multiple site hosting. To do that, from your Concrete dashboard, Navigate to System & Settings, click on Multisite Settings under Multiple Site Hosting. Now, click on Enable Multiple Sites to enable Multisite setup on your Concrete installation.
Next, create a new site type.
Create a New Site Type
Before you start creating a Site type in your Concrete multisite installation, let’s first understand what does Site type means in Multisite Hosting in Concrete.
What is a Site Type in Concrete Multisite Hosting?
Before you create a site in Concrete Multisite Hosting, you must create a Site type for it. A site type is nothing but the categorization of the site you can create inside it. Multiple sites of the same site type can be created. Site types are created in advance, before sites are added.
An example of what a site type is might be helpful. Let's say you're running a network of restaurant websites from your Concrete installation. Here are the site's you hope to build, all using your single "Restaurant Theme" theme.
- Ray's Pizza
- Bob's Burgers
- Sandy's Salads
For this example, you'd probably create a single site type named Restaurant. You'd set it up to use your Restaurant Theme theme, and the proper default page template. Then, you can create each one of the sites above, using the Restaurant site type.
Concrete CMS does ship with a "Default Site Type", but as of 9.0.3 this site type does not create any pages when created, and is only used for the original site created during installation. Attempting to create a site from this site type can lead to errors, so it has currently been disabled. Instead, before creating your first site with Multi-Site (e.g. your second site hosted within your single install), create a site type for it.
Let’s say you have created a new site type and have chosen the Elemental theme inside it. Now when you add a new site the Elemental theme will be automatically applied to this new site. But if you wish to apply a different theme to that site then you can still have the option to apply a different theme to it.
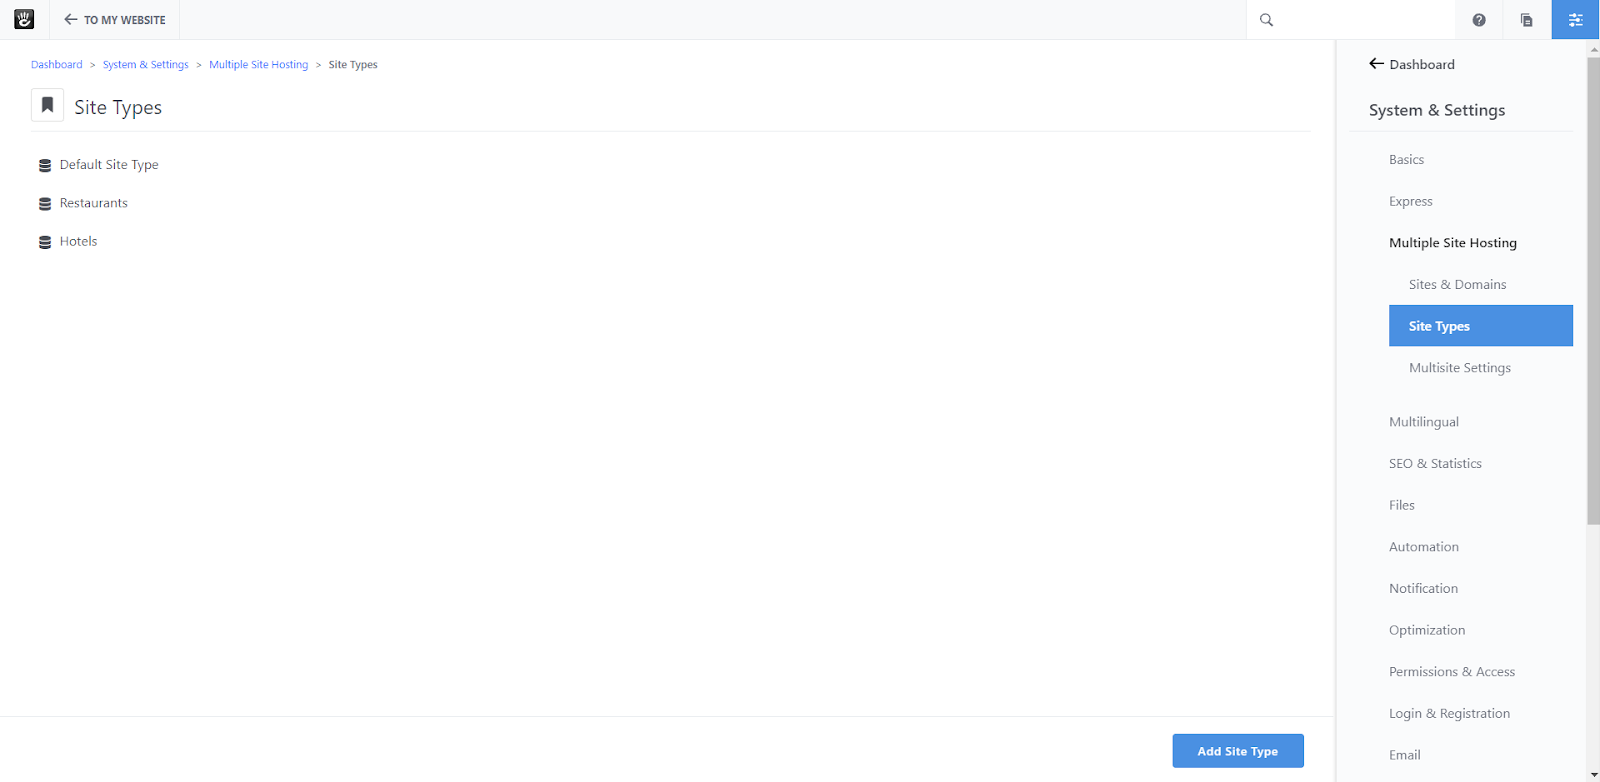
Now since you know about what site type means, let’s create a new site type.
- To create a new site type, go to System & Settings > Multiple Site Hosting and click on Site Types.
- Click on Add Site Type.
- Enter the Handle - Handle of your Site type, Name - Name of your Site type, Theme - Choose a default theme which will be automatically applied to all new sites added in this site type, Template - Choose a homepage, Homepage will be automatically created once a new site is created inside this Site type.
- Click on Create Site Type.
Create a New Site
Now you have created a site type, let’s create a new site, to create a new site
- Go to System & Settings > Multiple Site Hosting, click on Sites & Domains.
- Now click on Add Site.
- Choose the site type that you added before. If you've only created one site type through the CMS, this will happen automatically.
- Now enter the Handle - Give your site a handle, Name - Add a name to your site, Canonical URL - Add canonical url to your site, Default Timezone - Choose a Default timezone for your site.
Hosting configuration
You need to make sure that you have made the right configuration for your domain in DNS. Also make sure that you have the correct web server (Apache/Nginx) configuration to support that domain.
To make multisites work with multiple main domains all you need to do is park the domains in your web hosting account. Make sure that your A-records all point towards the IP/server where Concrete is installed, after that Concrete will direct traffic as it should. For subdomains, you can setup a wildcard DNS for the main domain. After that you can map subdomain.example.com without going back into your hosting control panel (e.g., setup wildcard DNS on cPanel).
Use the Site Selector to Change Site Settings
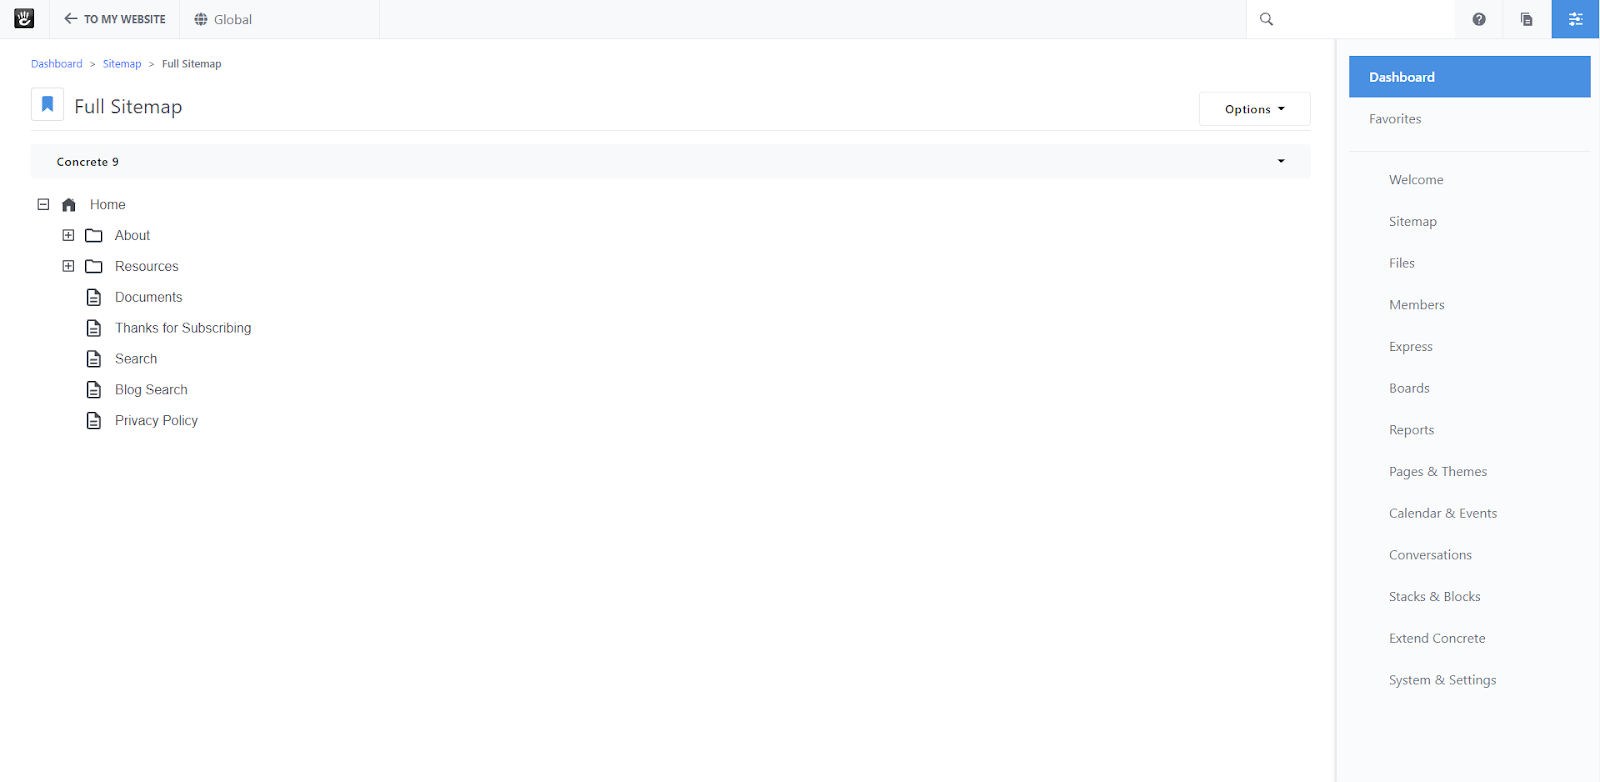
Once you have created a new site, it will add the site selector dropdown button to your Dashboard toolbar. Sometimes this selector will be set to "Global" and will not be changeable:
On pages where your sites do appear in this selector, you can choose the site to which you'd like to make these settings apply. For example on Dashboard > System and Settings > Basics > Name, saving the updated site name will only affect the site that shows in the site-wide selector in the toolbar.