Now that we've created a rich theme based on Bedrock, let's add support to it for another new feature in Concrete version 9: theme skins. Theme skins are a way of added pre-built variations on a theme, based on different source variables and the same general SASS files. Skins are pre-compiled, meaning they're very fast, and you don't need to even support or require theme customization to use them. That means you can ship a custom, fully optimized theme with skins included, and still allow administrators the option of using skins on their site. You can even choose different skins at different page levels.
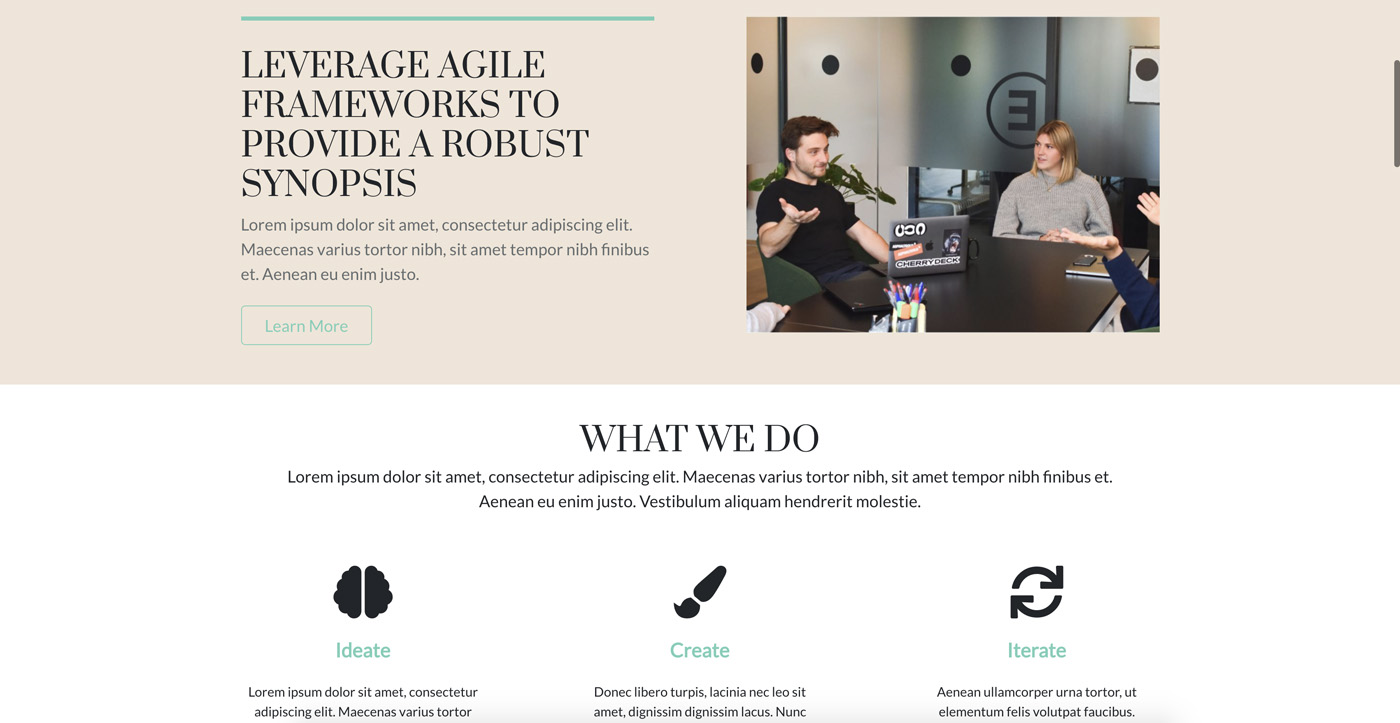
Examples of Skins in Atomik
Atomik (our default theme in version 9) ships with two skins.
default

Rustic Elegance
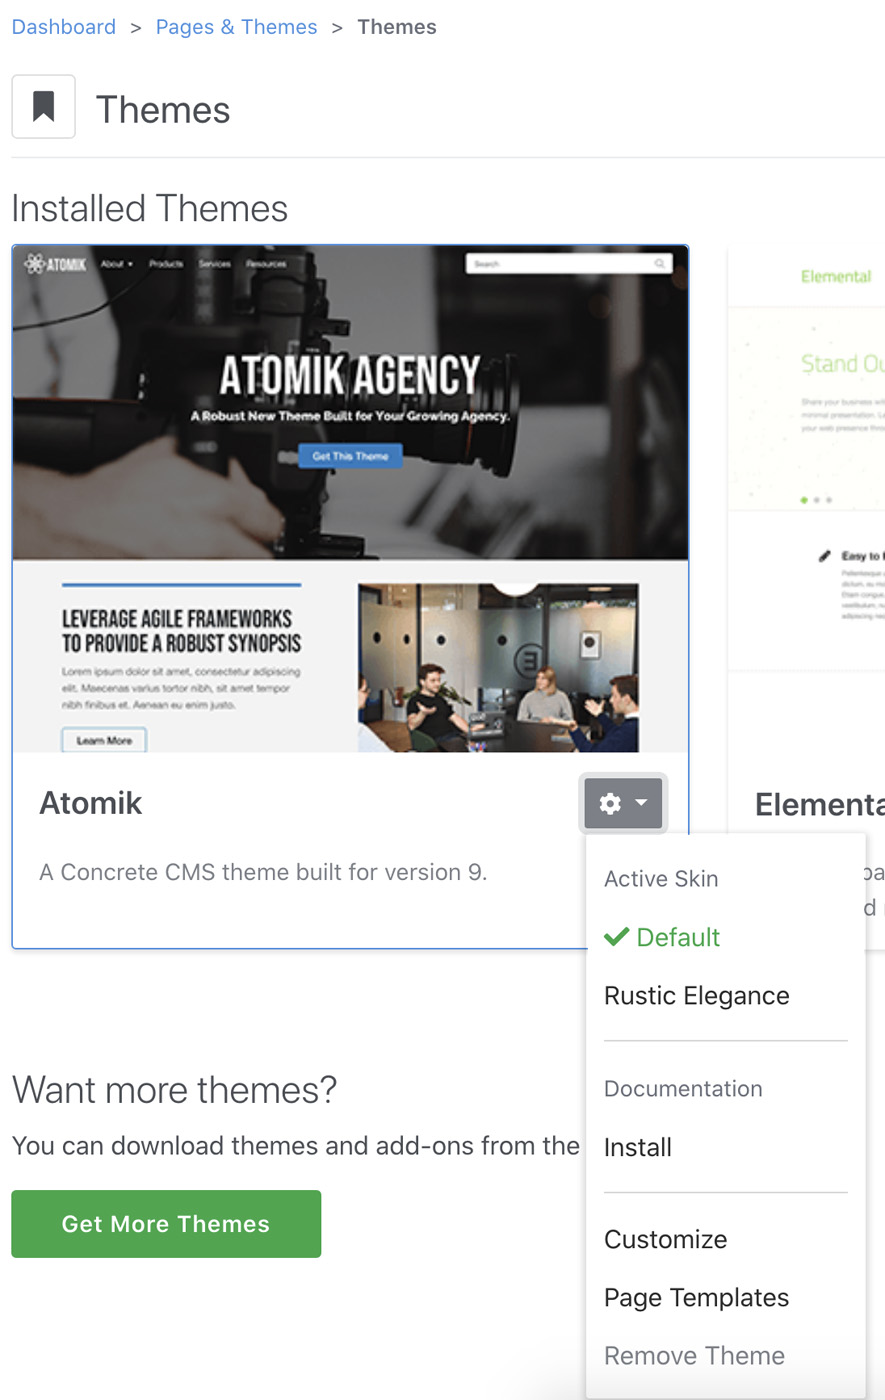
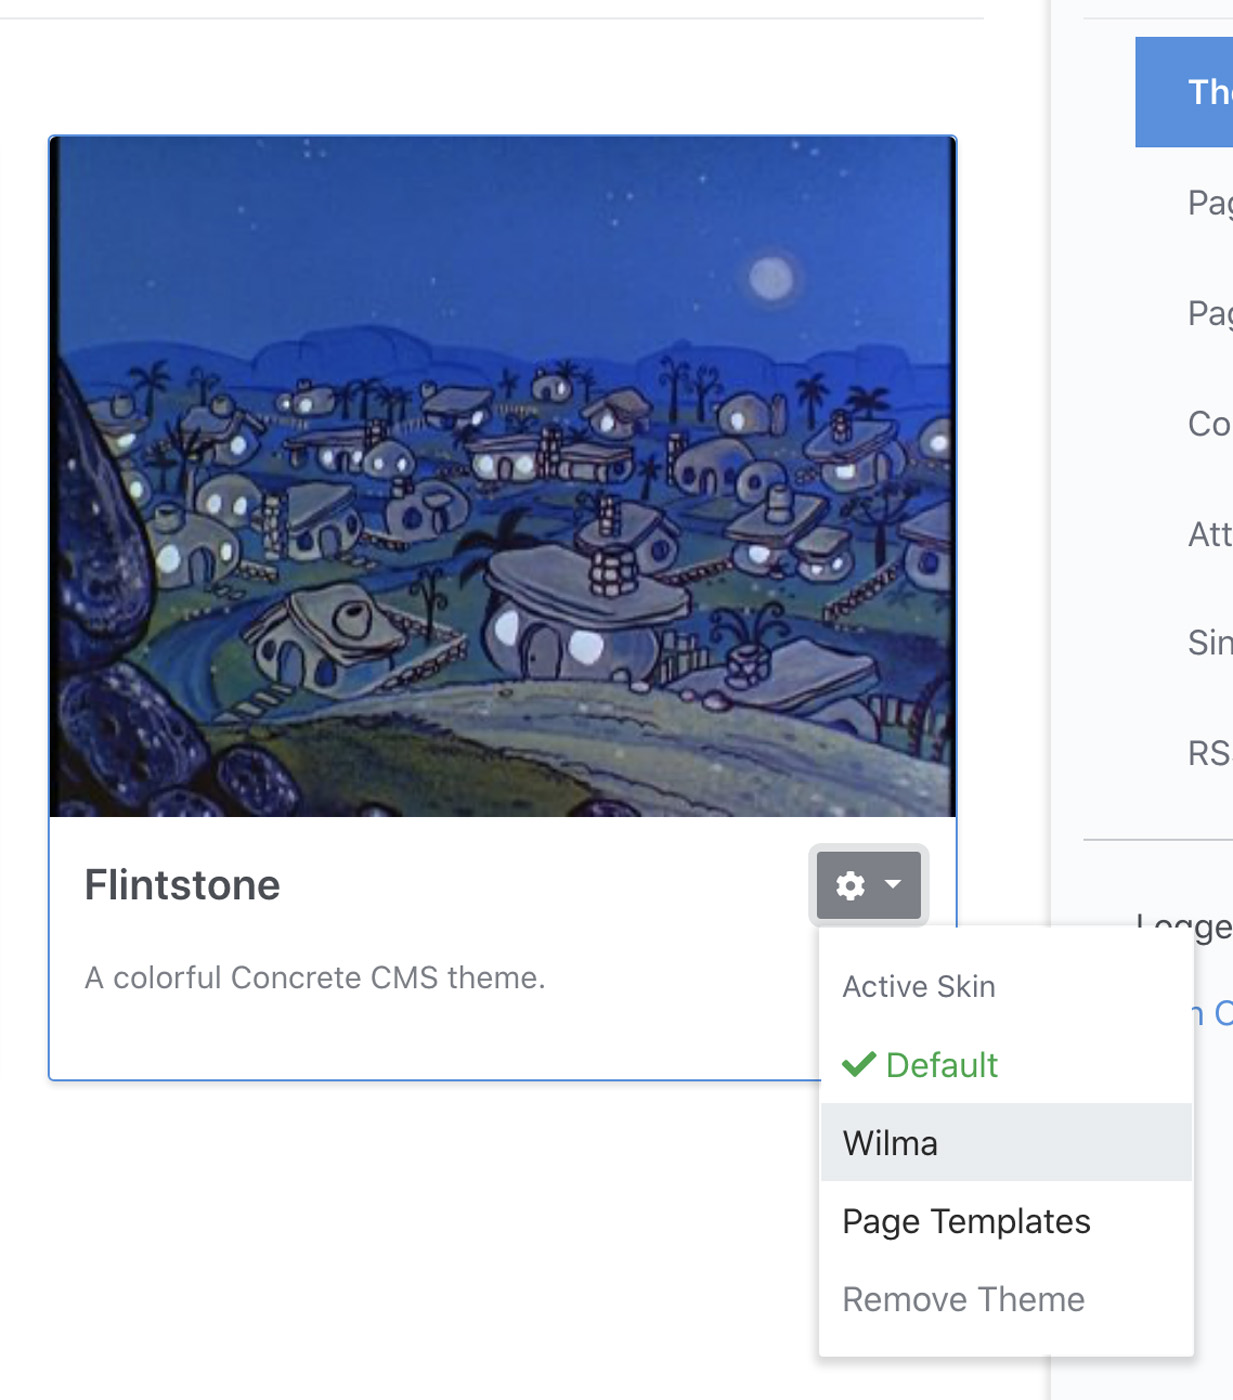
Setting skins is as easy as a selector in the Dashboard > Pages and Themes > Themes section of the Dashboard
Here's how you can add skins to your Flintstone theme.
Restructure Your Project Directory
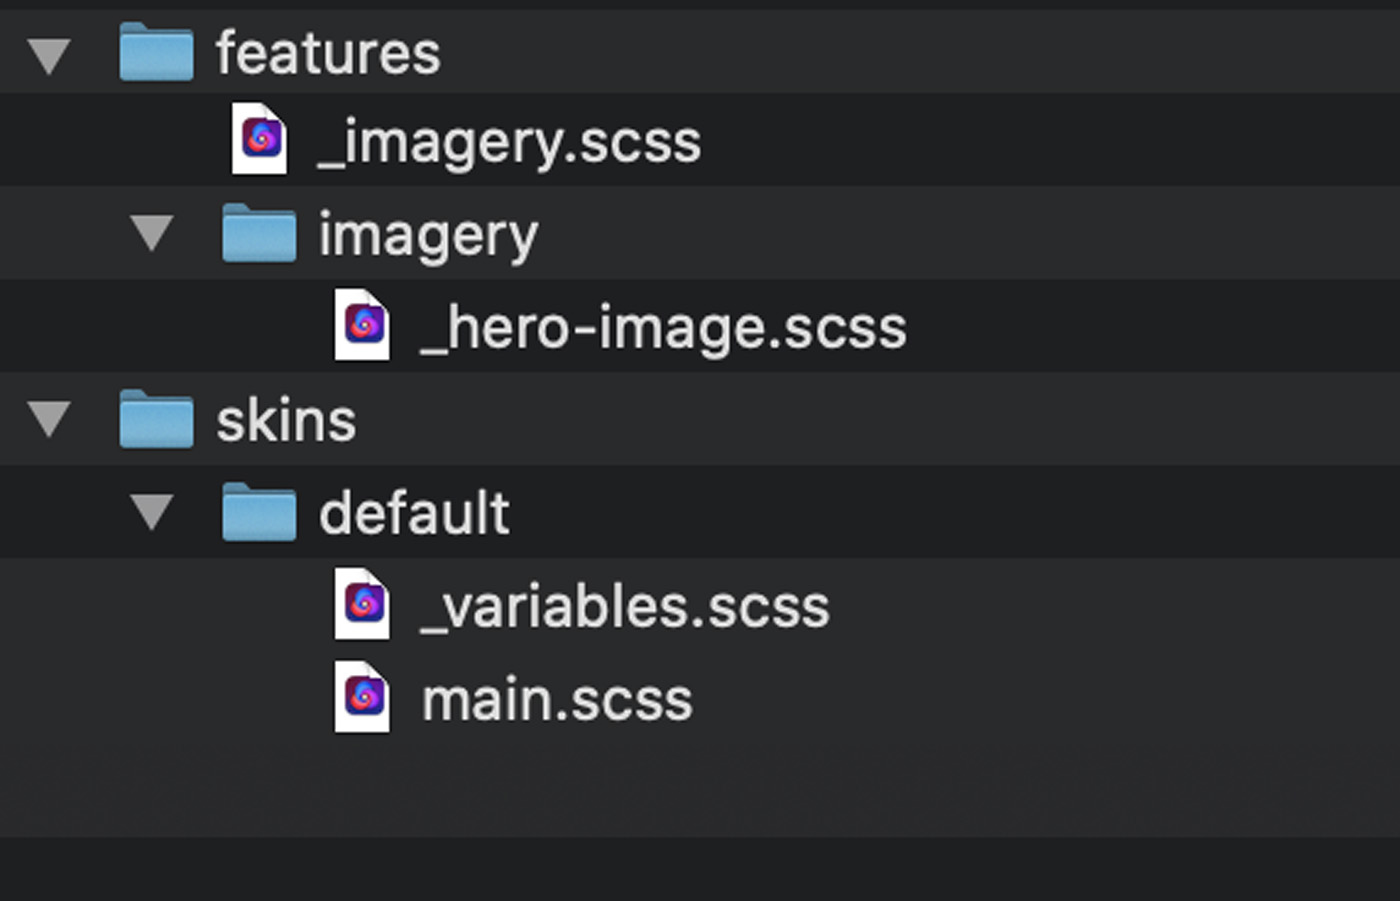
First, let's restructure our project directory. Instead of using a single entrypoint, main.scss, we're going to move our entrypoint a level down, into a new skins directory. So create a new directory named skins in the root of your theme development directory. Next, create a directory within skins named default for our first skin, and move main.scss into it. The default skin of any theme must be named default.scss, so it makes sense to name the corresponding directory housing that skin's entrypoint to default. Finally, move the _variables.scss file that houses the skin's customized Bedrock SASS variable into the default directory as well.
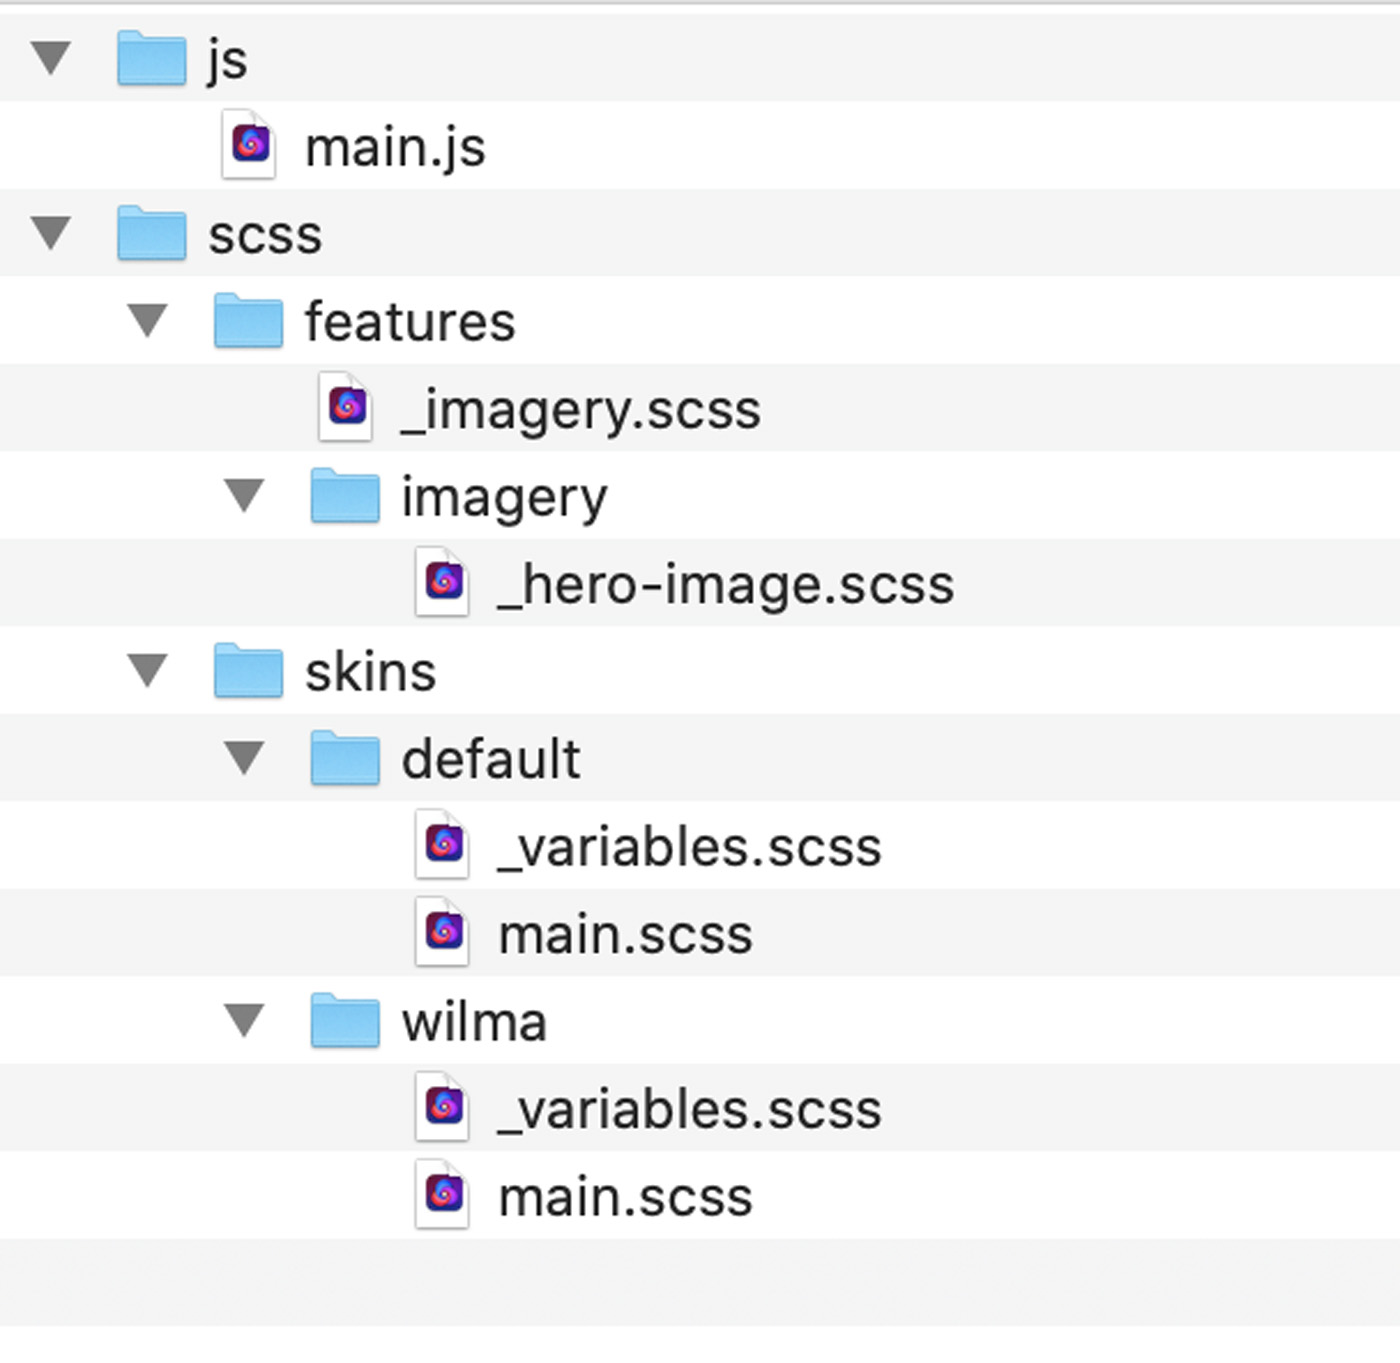
Now your project directory should look like this:
Update main.scss for new Features Location
Next, we need to update main.scss, which we've moved into a sub-directory, so that it pulls the centralized features SASS from the new relative location. That means adding ../../ in front of any files that had been in the same directory. Our main.scss should now look something like:
@import "variables";

@import "~@concretecms/bedrock/assets/bedrock/scss/frontend";

@import "../../features/imagery";
Update webpack.mix.js to Reflect the Changes
Next, you'll need to update webpack.mix.js to reflect that the main file we're building is has been moved. Additionally, the output of this file is no longer going to be application/themes/flintstone/css/main.css, but instead application/themes/flintstone/css/skins/default.css. Skins must output their CSS files into a skins directory inside css in their theme.
webpack.mix.js should now look something like this:
let mix = require('laravel-mix');

mix.webpackConfig({
    externals: {
        jquery: 'jQuery',
        bootstrap: true,
        vue: 'Vue',
        moment: 'moment'
    }
});

mix.setPublicPath('../concrete5/application/themes/flintstone');

mix
    .sass('assets/scss/skins/default/main.scss', 'css/skins/default.css')
    .js('assets/js/main.js', 'js/main.js');
Rebuild Assets and Test
Now, let's make sure everything still works generally. Re-run
npm run production, wait for the assets to rebuild, and reload your site.
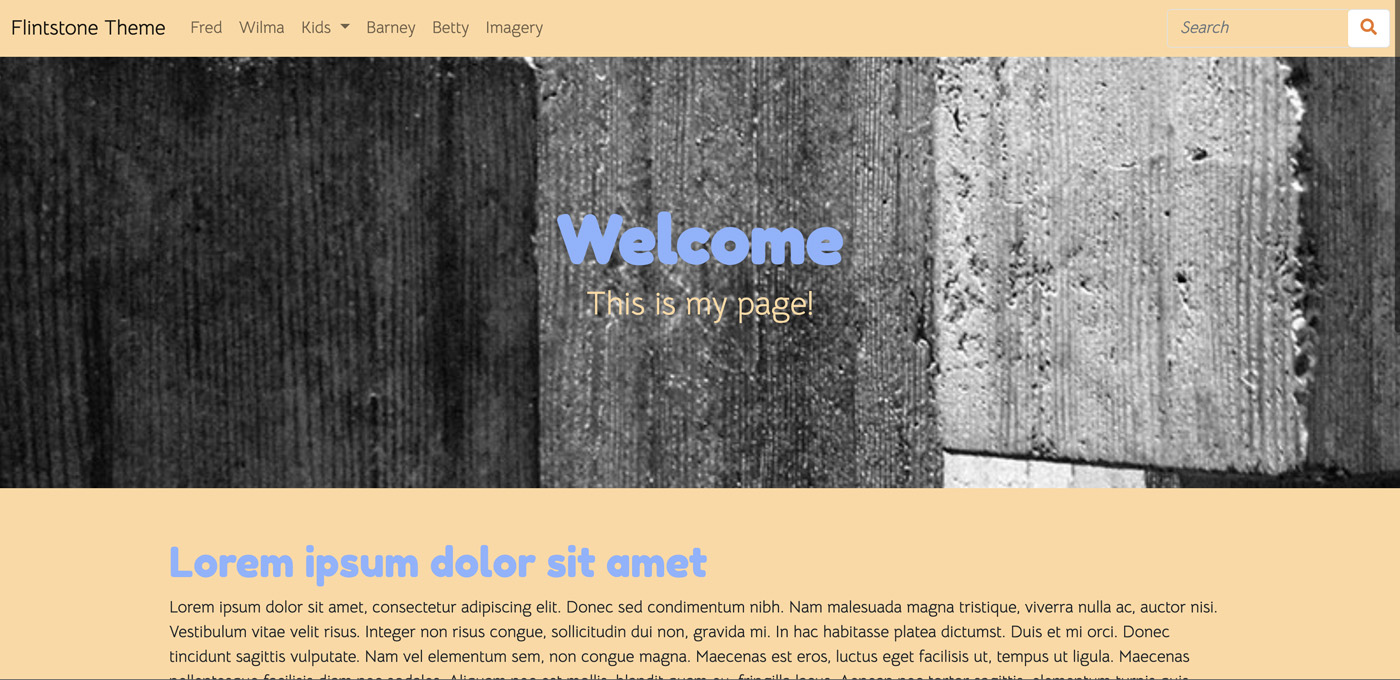
This is what we would expect – since our styles have moved but we haven't updated the theme itself (it's still referencing main.scss) we're going to have a site with completely missing styles.
Update the Styles Include
Let's fix this broken style. Styles are included in our header.php, so let's open that file. Open header.php and find this line:
<link rel="stylesheet" type="text/css" href="<?php echo $view->getThemePath()?>/css/main.css">
This hard-coded line needs to change. Swap it out with this:
<?=$view->getThemeStyles()?>
This method is the single line necessary to support skins within your theme. It's also used to support fully customizable style sheets – but more on that later.
Now let's reload the site.
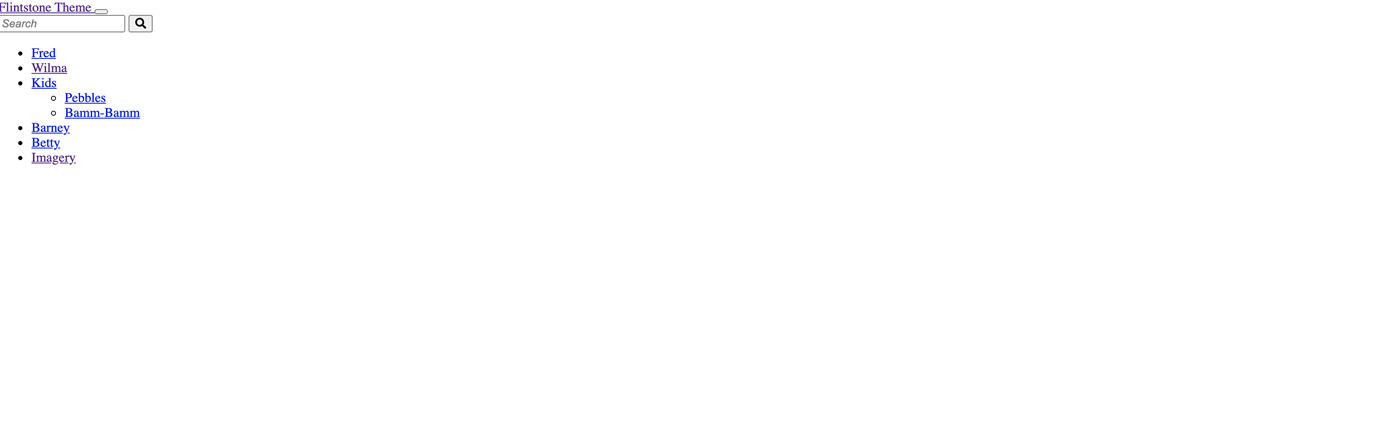
And we're back! Furthermore, if you go into Dashboard > Pages and Themes > Themes, and click the settings next to our Flintstone theme, you'll see that skins are now registered and functioning.

Unfortunately, we only have a single skin, which isn't super useful. So let's add a new one. If we've modeled our original theme, and hence our first skin, after Fred Flintstone, it makes sense that we model our second skin after his wife, "Wilma"
First, let's duplicate our default directory into a new directory named wilma. Our filesystem should now look like this:
Open the _variables.scss file within the wilma directory. These are the original SASS variables powering the default skin, since we just copied them from there. Let's customize some things. Let's change these variables:
$primary: #375d84;
$secondary: #eb7724;
$light: #fff;
$body-bg: #ffd89f;
$fun: #ec008c;
$light-blue: #8bb2ff;
Into some variables that correspond more to Wilma's color palette. I'll swap them out with these:
$primary: #ff3c10;
$secondary: #704c3b;
$light: #dcd9fe;
$body-bg: #f6c7b4;
$fun: #fb4996;
$light-blue: #8bb2ff;
(I'll keep $light-blue the same)
Now, let's add this new skin to our webpack.mix.js:
mix
    .sass('assets/scss/skins/default/main.scss', 'css/skins/default.css')
    .sass('assets/scss/skins/wilma/main.scss', 'css/skins/wilma.css')
    .js('assets/js/main.js', 'js/main.js');
And re-run npm run production. Wilma should now be included in the list of files output by Laravel Mix.
And when we go into Dashboard > Pages and Themes > Themes and interact with our Flintstone theme, we should now see our new skin ready for use.
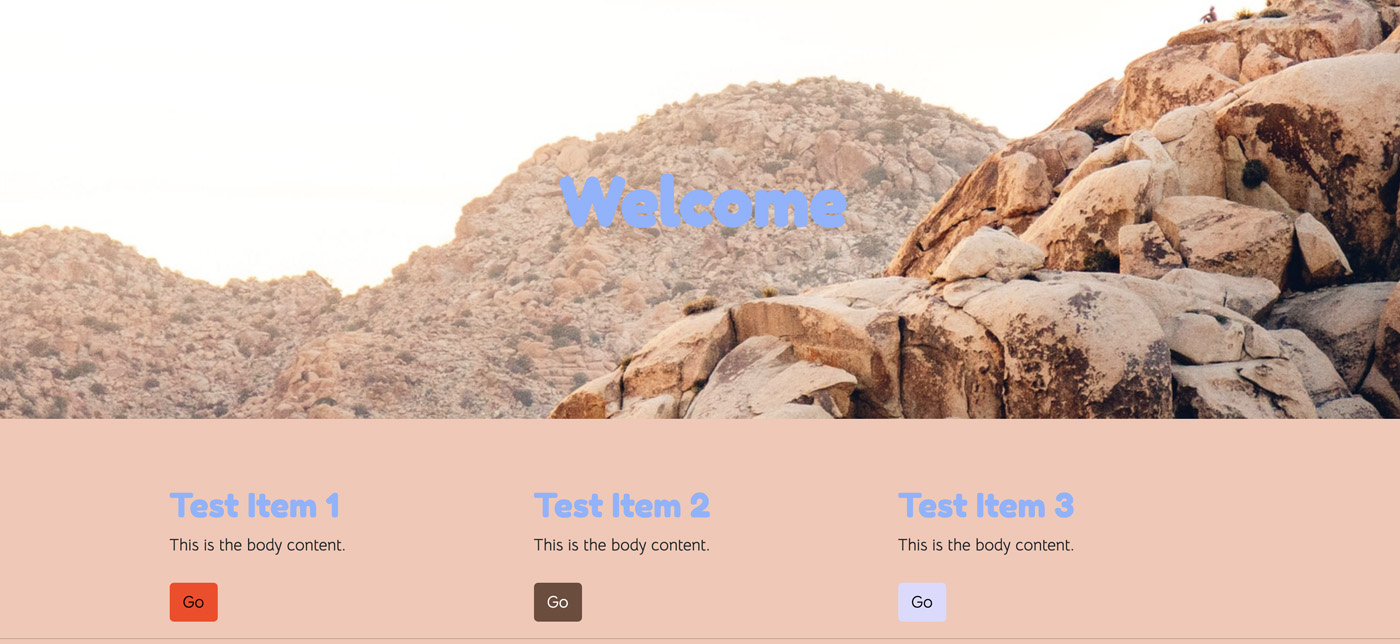
Activating that skin should put it into place on the site, with all of its modifications:
That's it! You've made a Concrete CMS theme skin.
Important Notes
Additional Cleanup Encouraged
As part of the creation of this skin, we duplicate our entrypoint and its associated _variables.scss file. We did change the _variables.scss file content, and that's certainly what that file's for, but we only changed a handful of variables. There's no reason for two completely separate _variables.scss files. Instead, we should keep the separate _variables.scss files just for the variables that are different between the themes, and move any shared variables into a _shared-variables.scss file that's included in all skins.
The Atomik theme that ships with Concrete CMS shows an example of this pattern, and it's recommended.
Bedrock Not Required
We built this theme with Bedrock to show how easy it was to use SASS customization to build skins – but there's nothing specific about this process that requires Bedrock, Webpack, CSS customization or anything of that nature. All theme skins require is that skins be present within a css/skins directory inside your theme. If they do so, they'll show up in the Dashboard, and you'll be able to select them. Bedrock was a convenient way to show how to build something like this, and we hope you'll use Bedrock to build your themes, but skins do not require it and can be created in a completely custom manner if you so choose.
Skins are Full CSS
In our examples we're modifying a couple variables but keeping the CSS shared between skins fairly homogenous between skins. There's nothing that requires this, however. Again, the contents of the css/skins directory are just CSS – there's nothing that requires them to be mostly the same between them. If you wanted to add a bunch of custom CSS within the "Wilma" skin that wasn't in the default skin, you're free to do so.
Conclusion
With skins, we think Concrete will continue to be a useful platform for solving real-world web problems. Skins should be useful for theme developers who want to give customers lots of choice when working with their themes, but we hope they're also useful to companies and organizations that want to ship a unified look to their site, while offering site editors some choice. We can't wait to see what you do with the feature.
Download the Source
The source for this, and all other Bedrock theme work described in this section, can be found on GitHub in https://github.com/concretecms/theme_bedrock_documentation.