Express Form Styling
Express Form Styling
There are three ways to style Express forms:
- Add a custom ID or class and use Concrete's custom design tools (can be done by end users)
- Create a custom Express Form Block template (requires access to the server)
- Create custom attribute form templates (requires access to the server and provides the finest-grained control)
This tutorial will explain how to accomplish the customizations by leveraging the custom design tools.
Add a custom ID or class and use Concrete's custom design tools
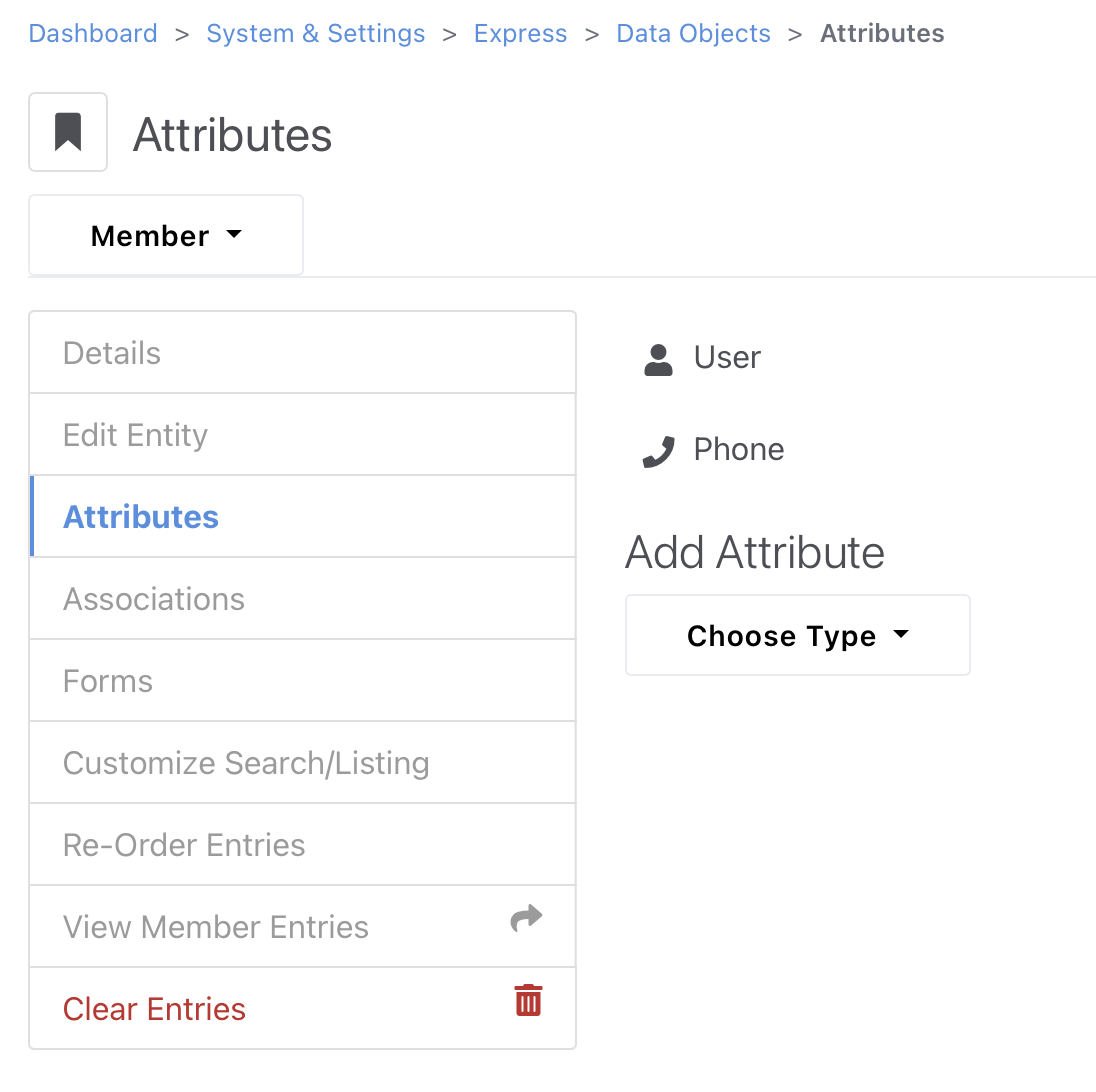
For this example, first create an Express object and an associated form to be used on the front end. In this example, we're adding users and phone numbers to a Members object (a contrived example):
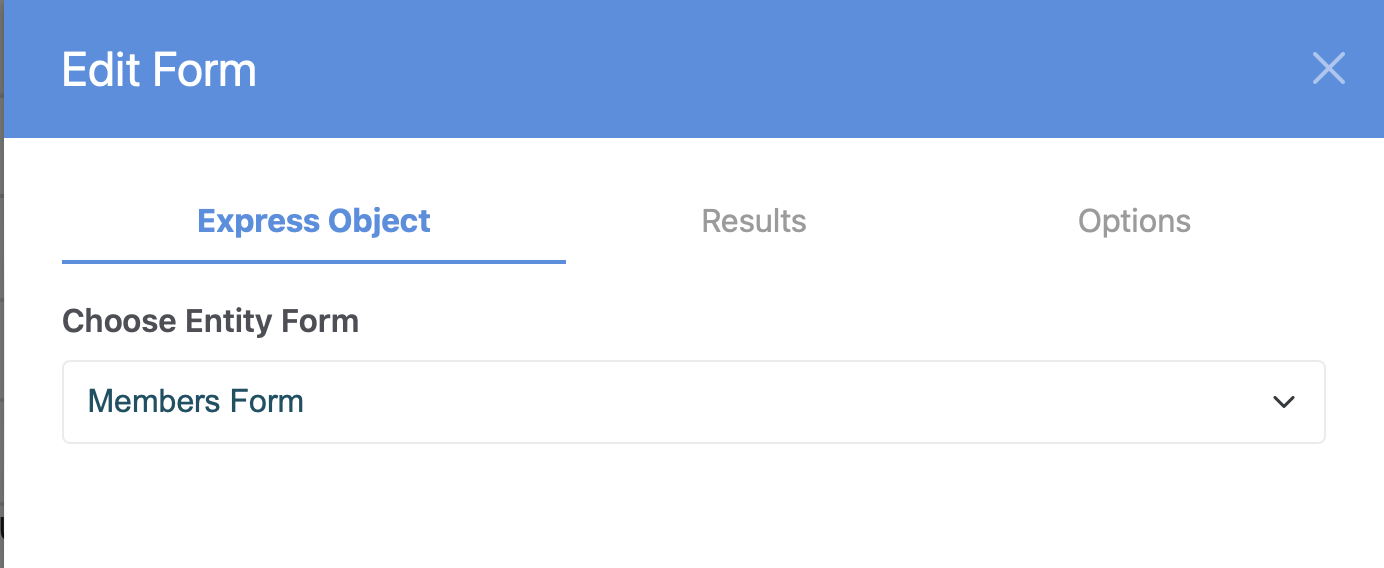
Place the Express Form block on a page and choose the form for the Express object as the existing form:
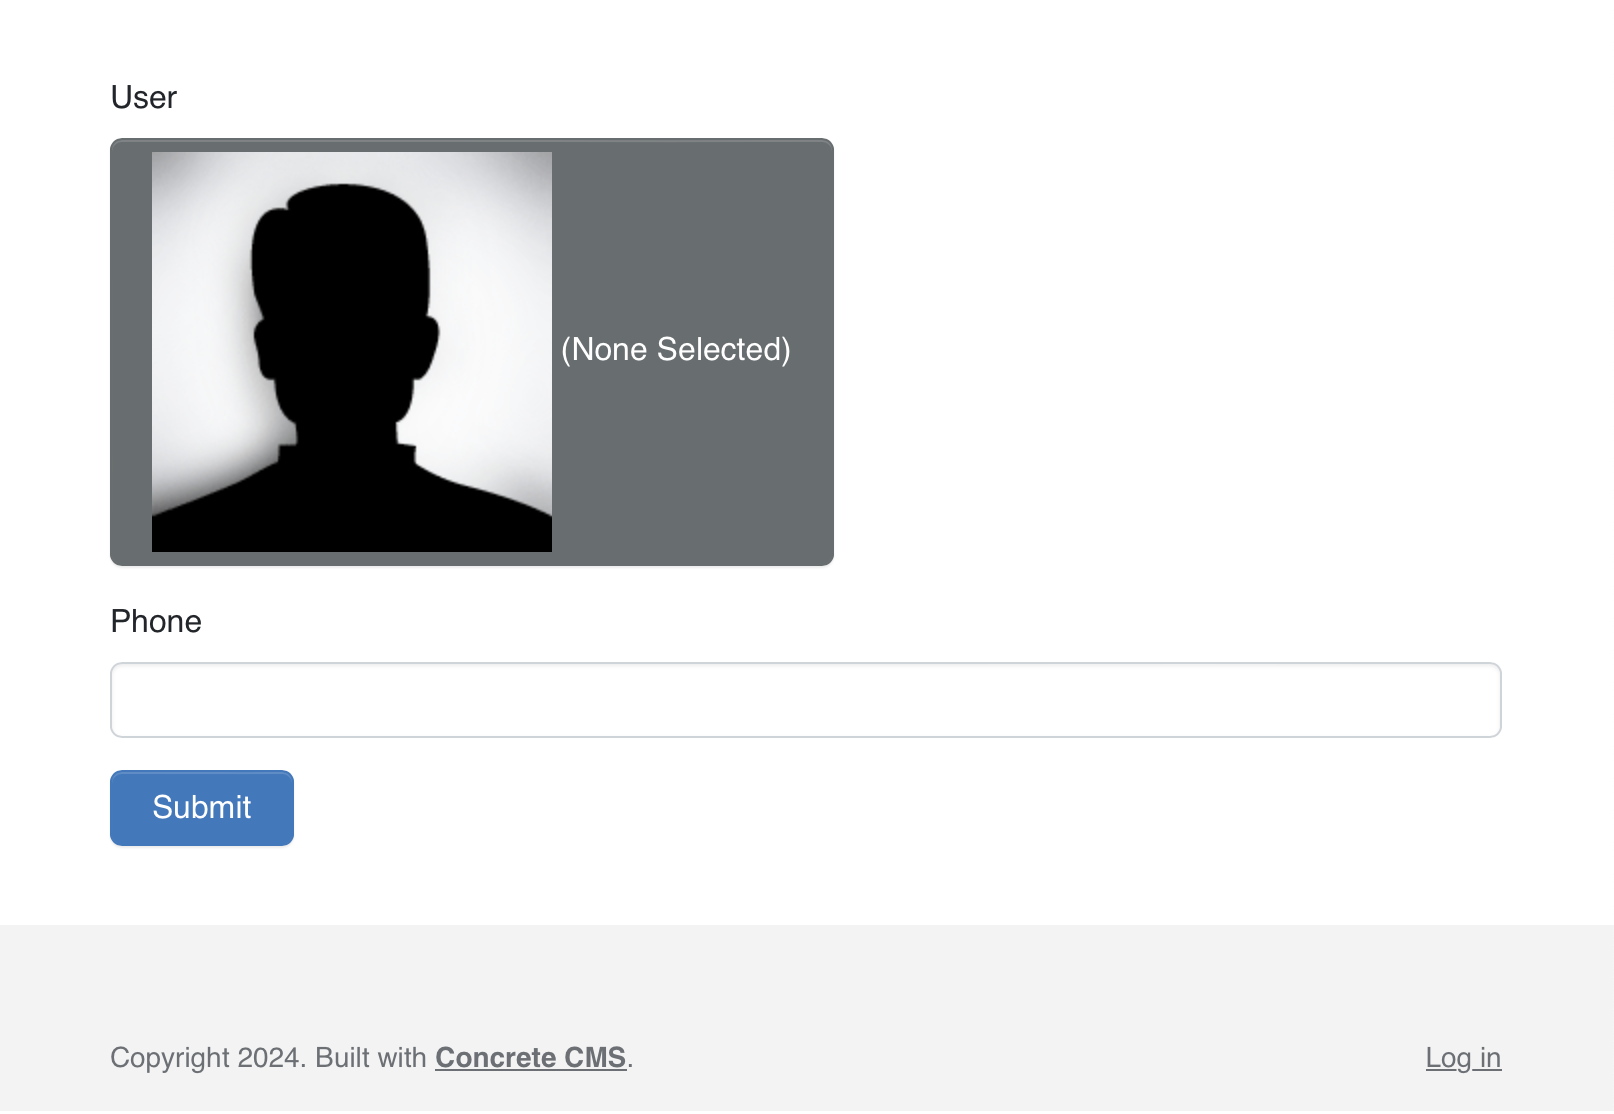
Save the block and you'll see the form with some basic styling:
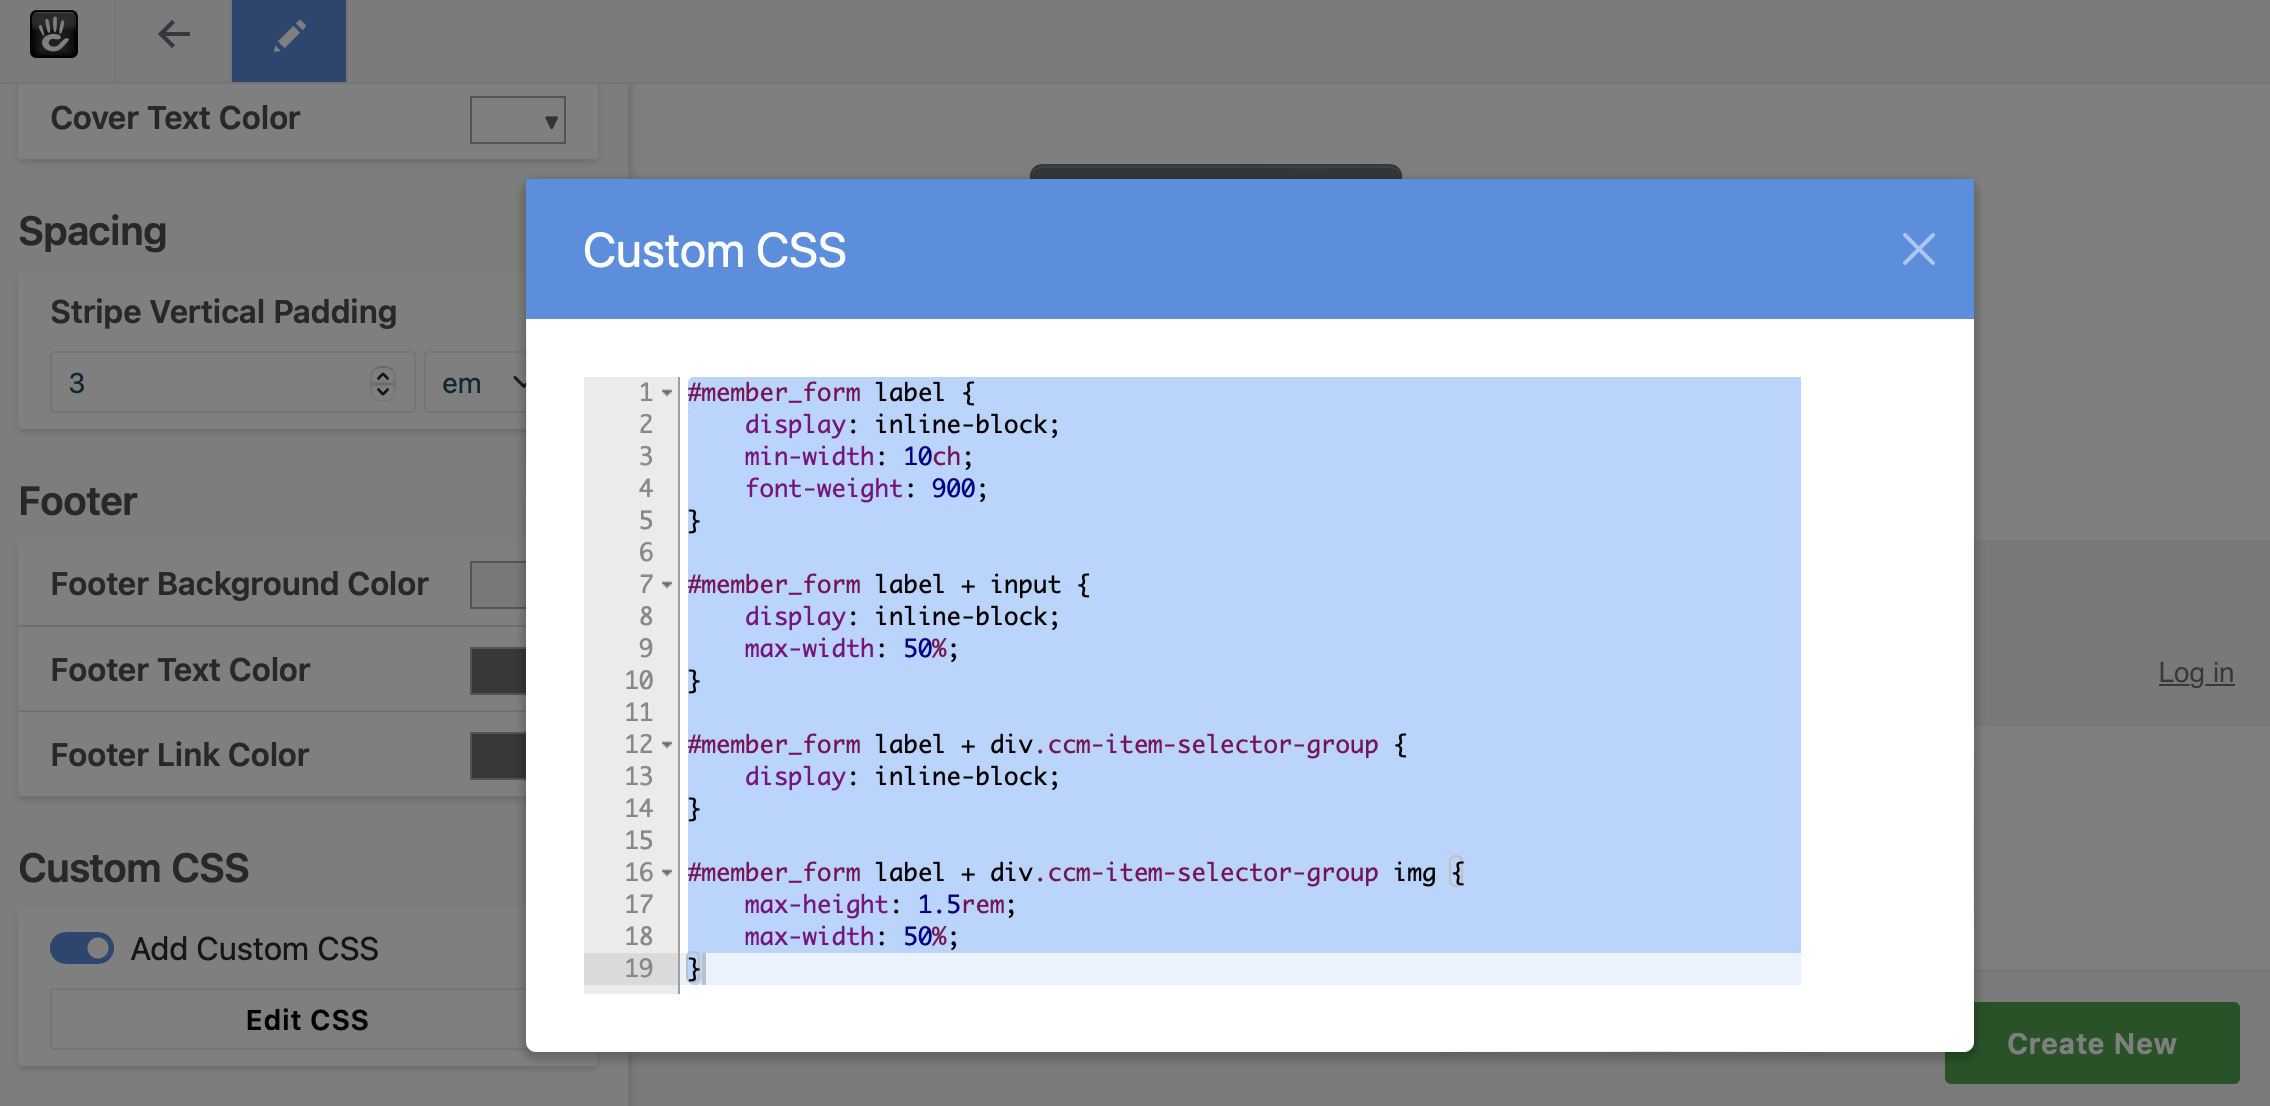
Now that we have the Express form, we will need to target this specific form with CSS by adding an ID or class in the Design & Template block options:
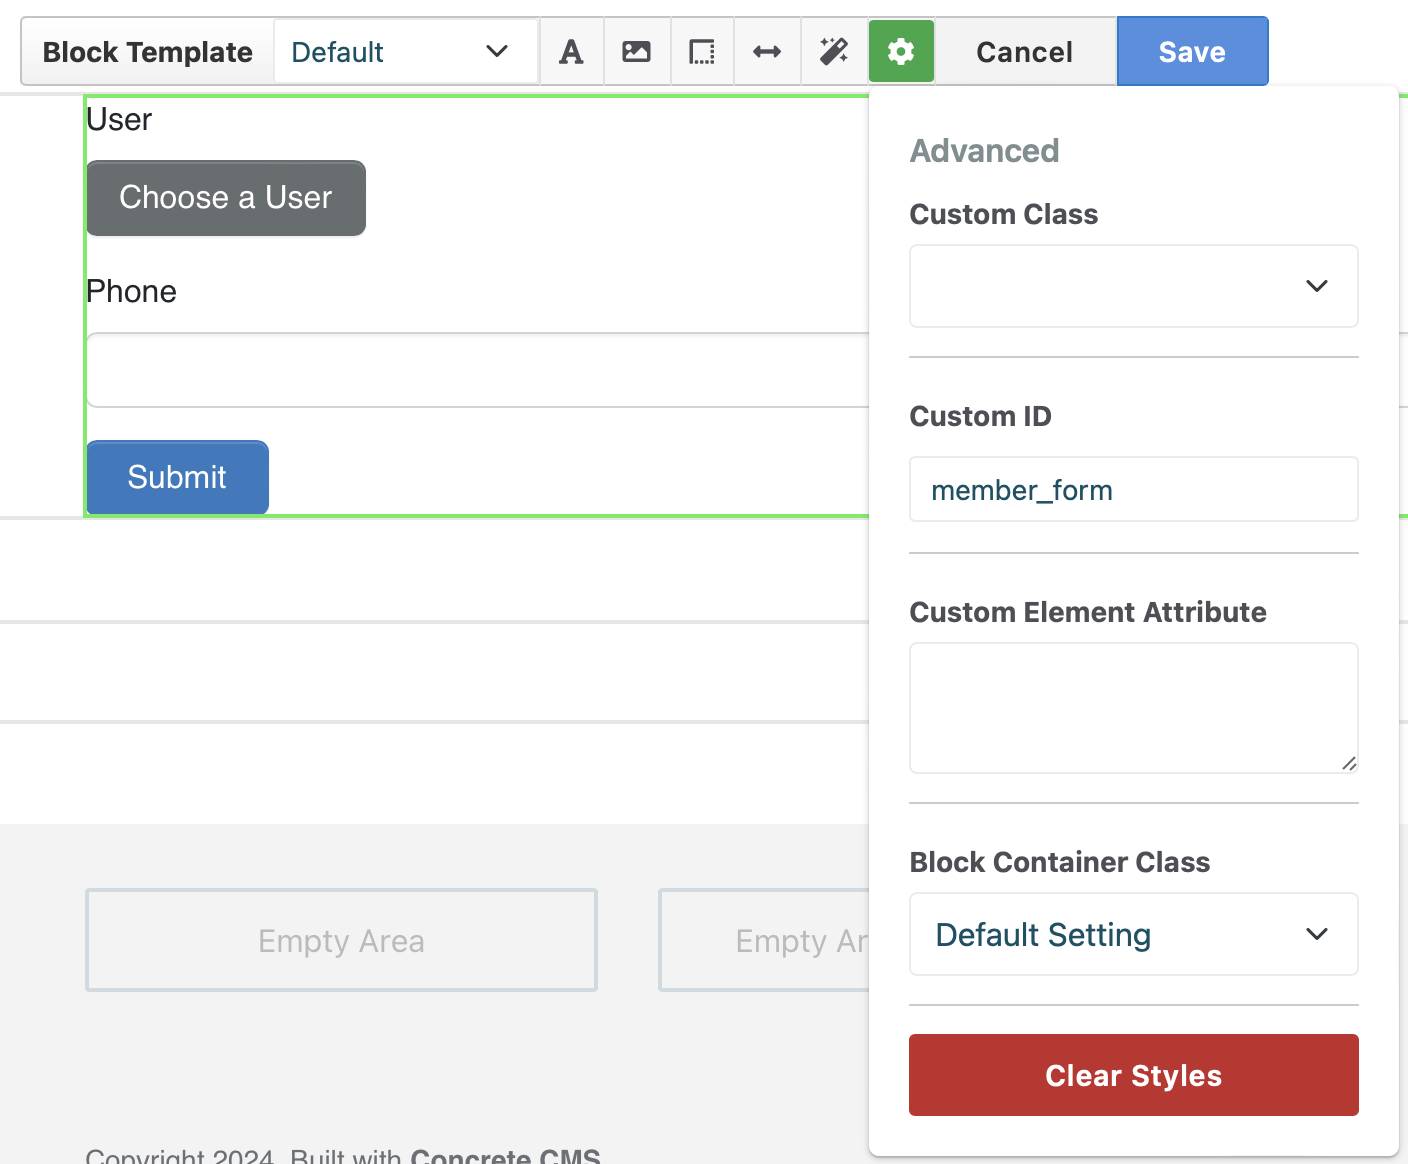
This will add a wrapper div containing the custom ID or class:
<div class="ccm-custom-style-container ccm-custom-style-main-23" id="member_form">
    <div class="ccm-block-express-form">
        <div class="ccm-form">
        <!-- form elements here -->
        </div>
    </div>
</div>
Now there are a few different places where some custom CSS can be added. Only one of the follow methods needs to be used.
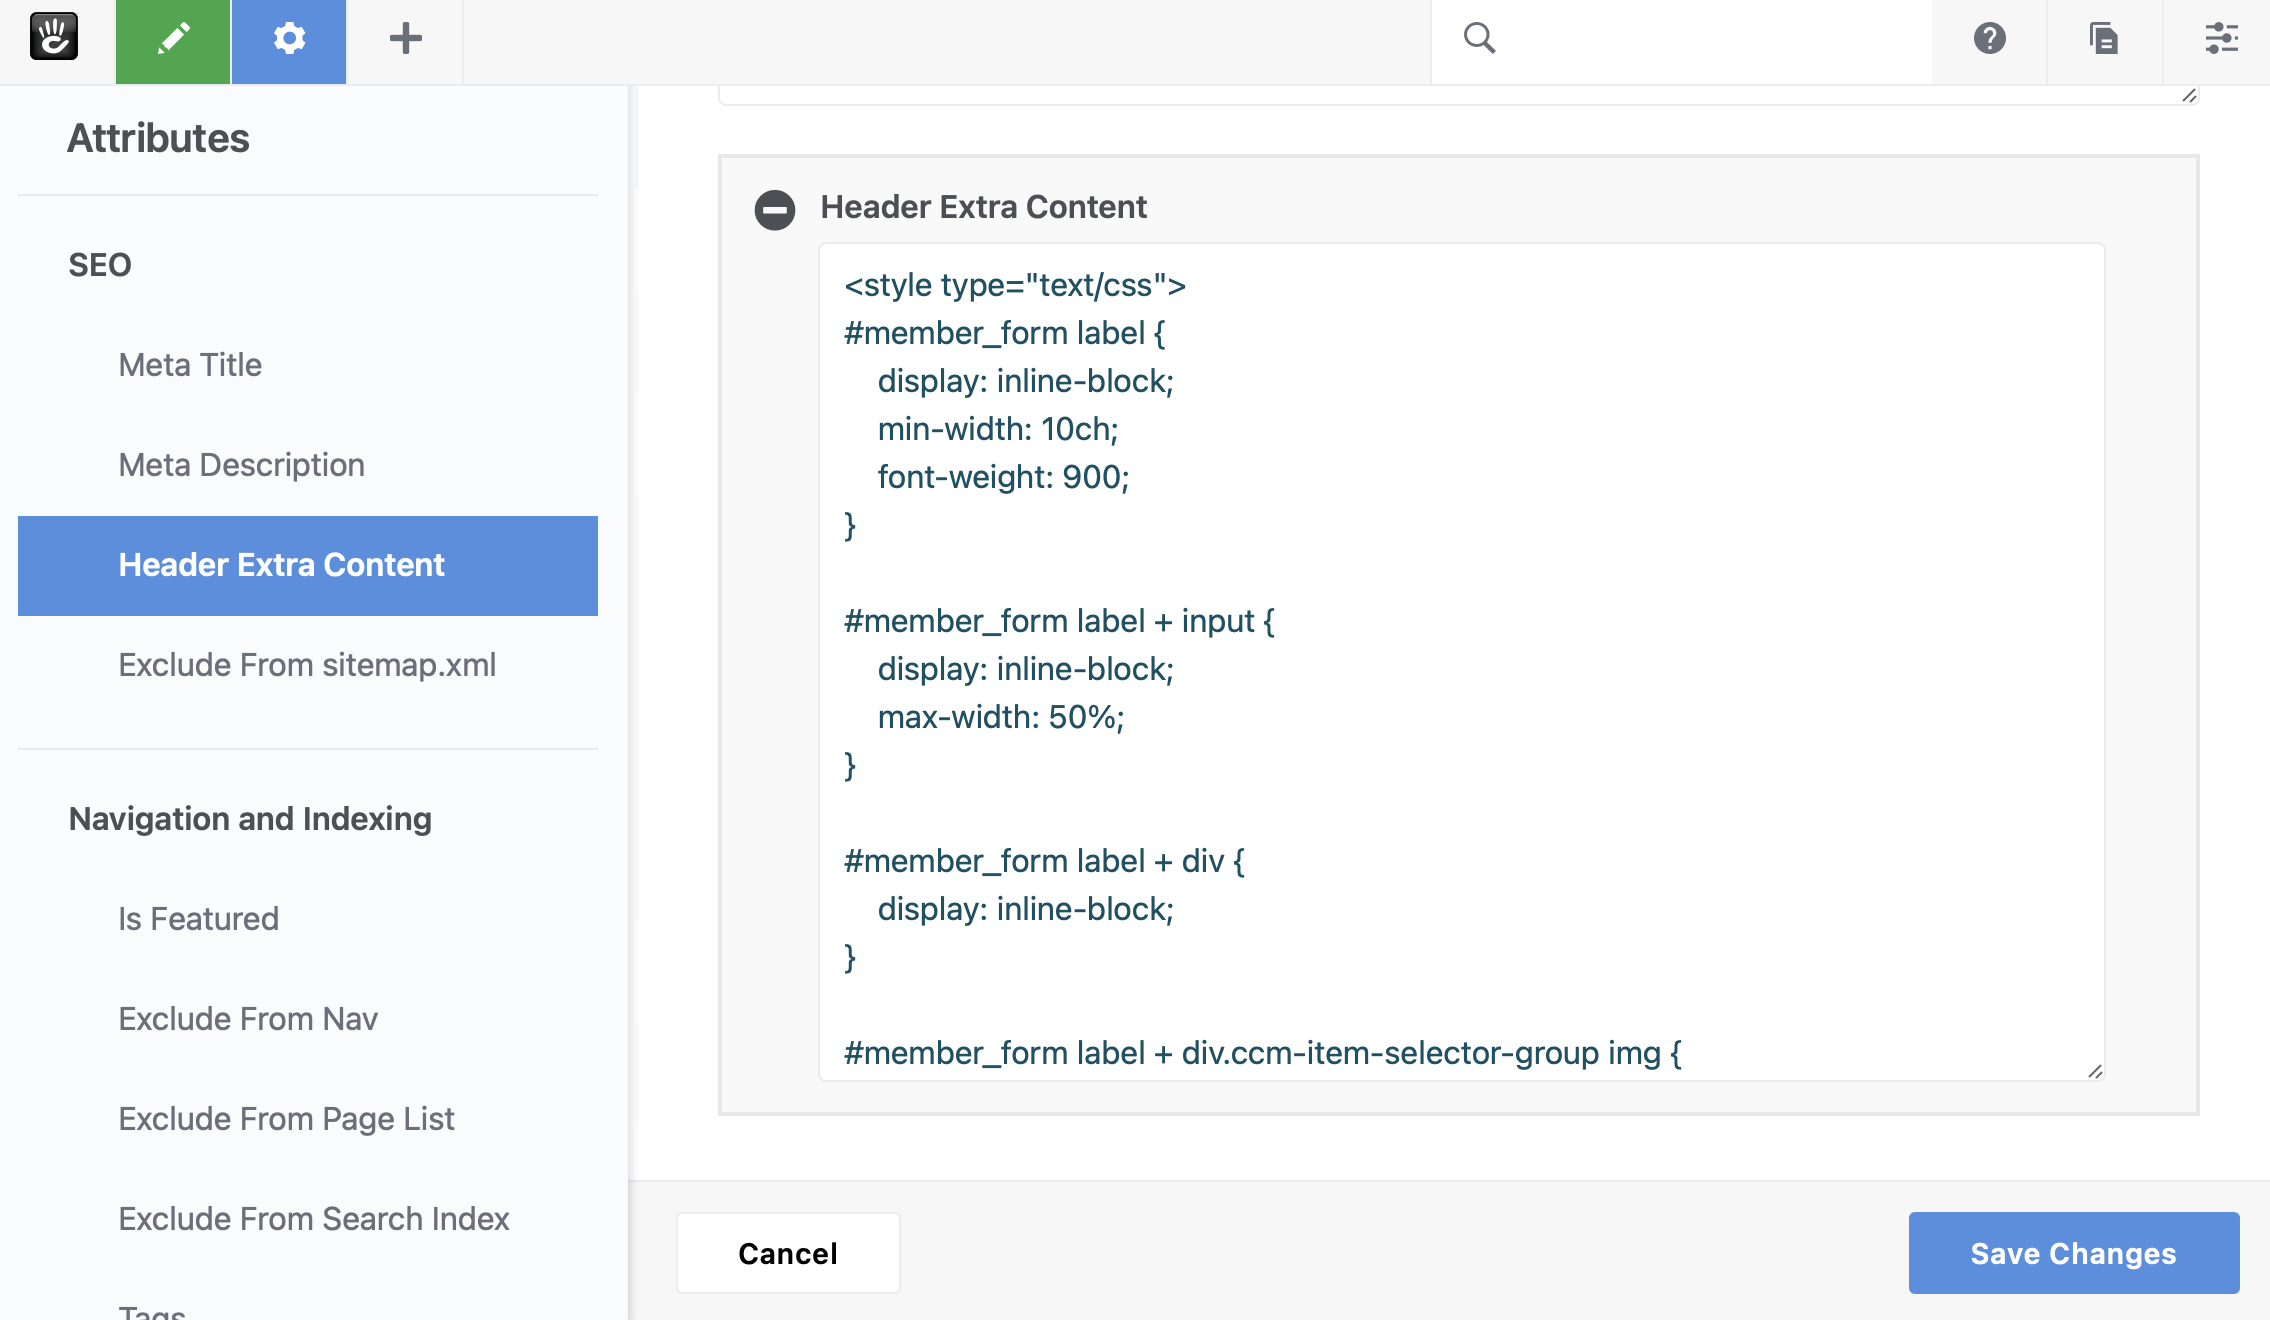
- the page's Header Extra Content attribute
- an HTML block
- a site-wide attribute which is output in the header such as Tracking Codes
- if a theme is customizable, custom CSS can be added to the theme
Header Extra Content attribute
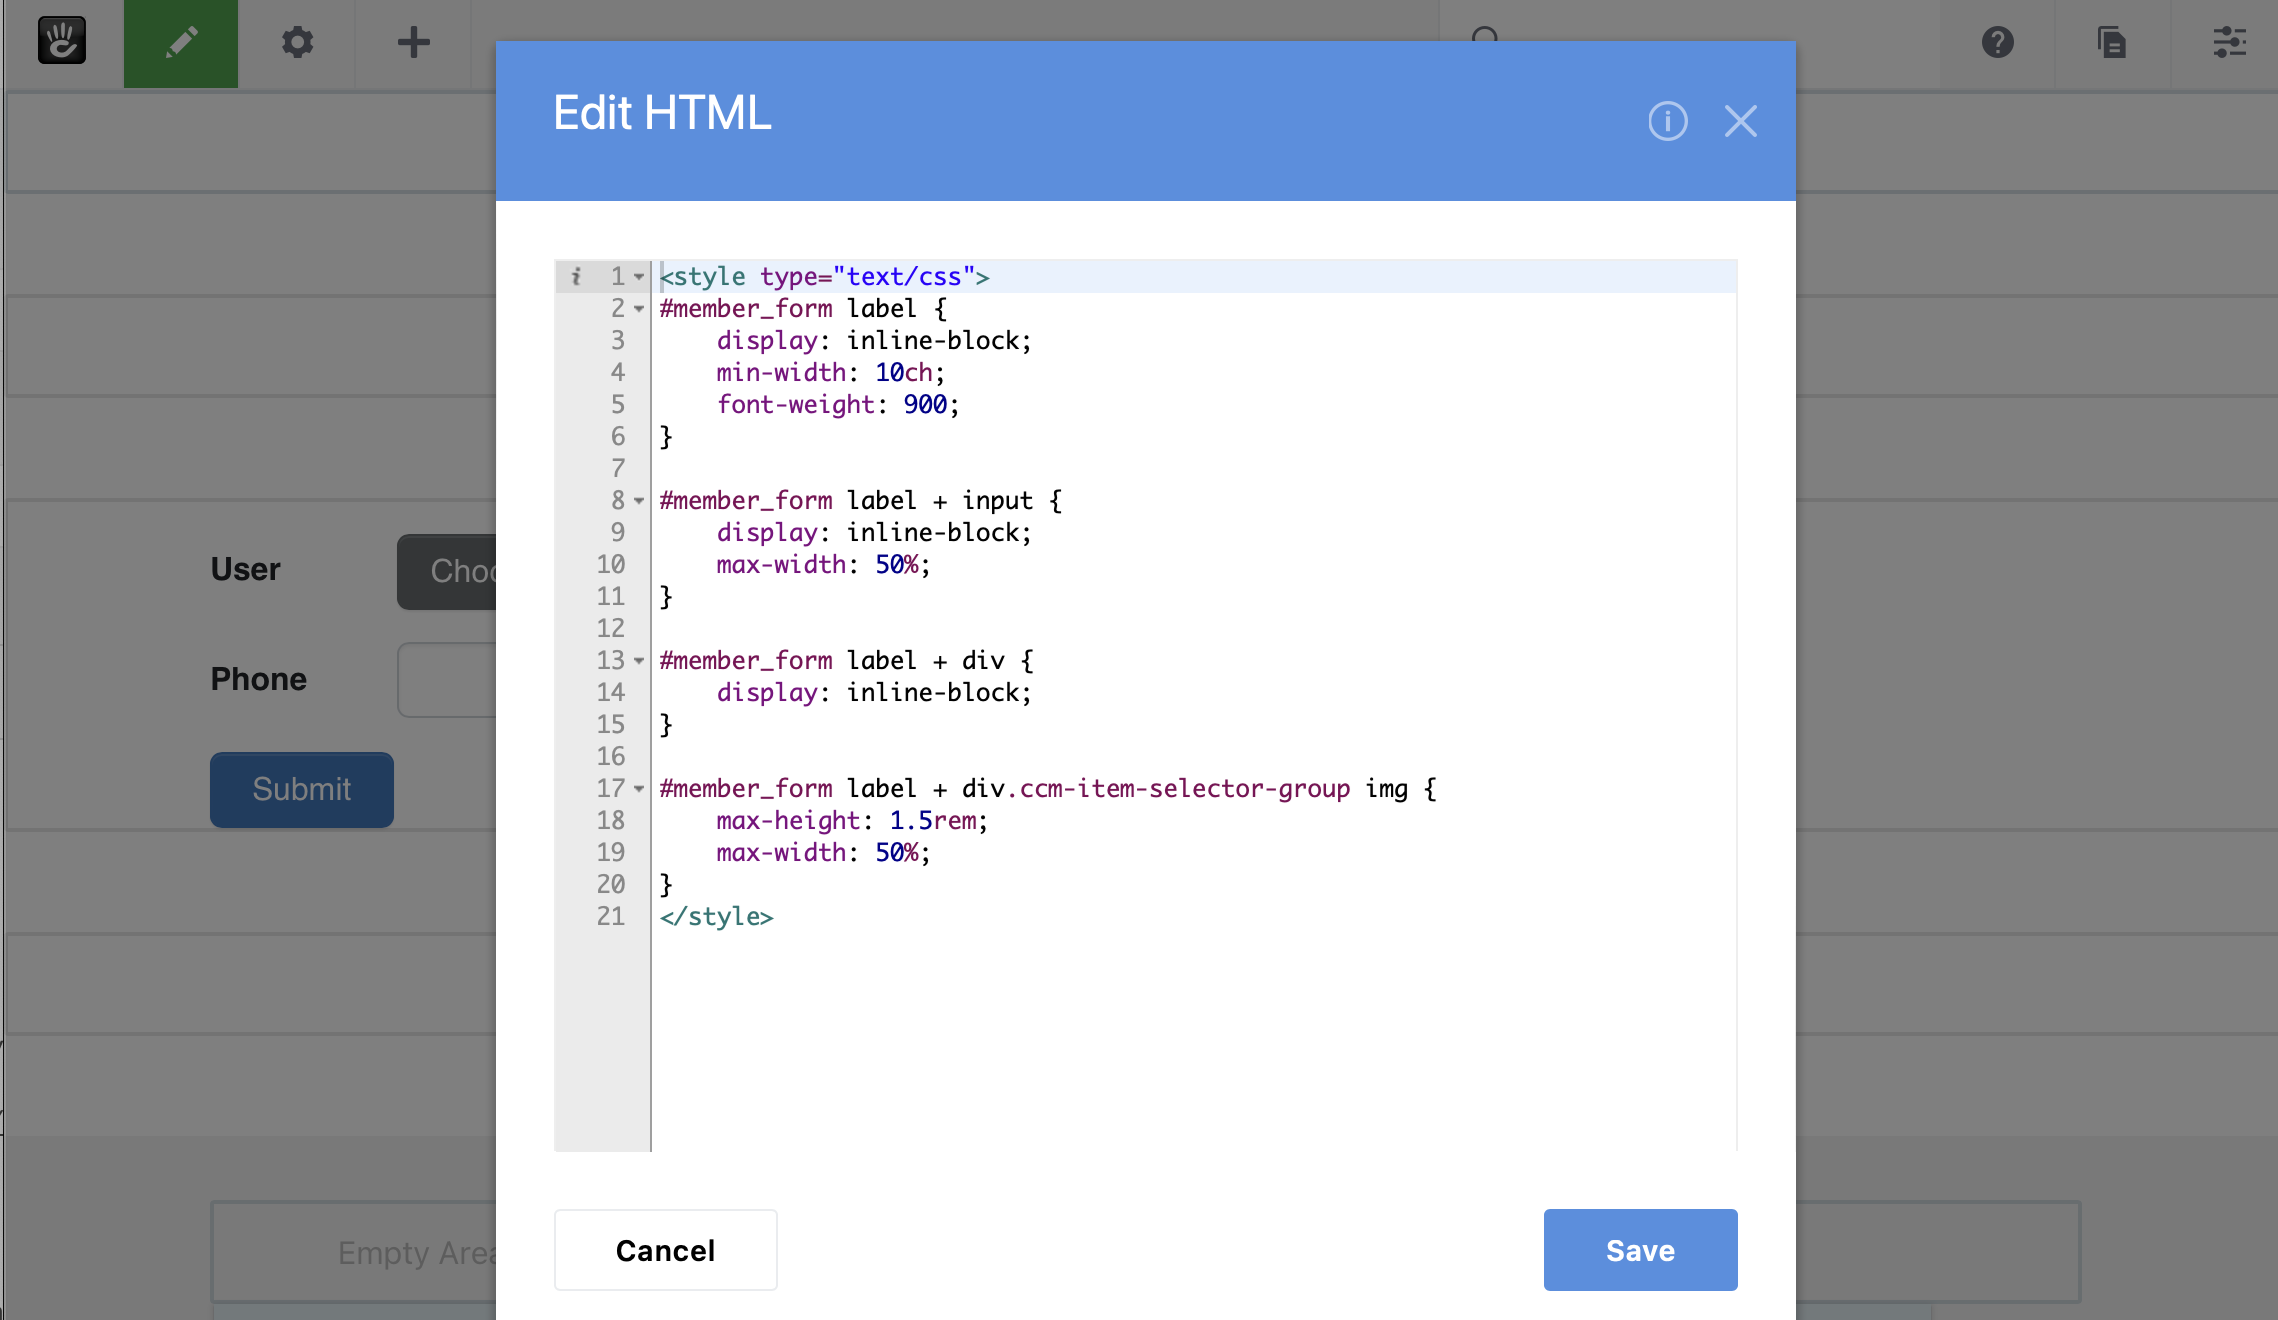
Add the Header Extra Content attribute to the page and enter the styles wrapped in <style/> tags. The CSS will be applied to only that page:
HTML block
Add an HTML block above the form and enter the styles wrapped in <style/> tags. Like the Header Extra Content attribute, the CSS will be applied to only that page, but this method can be hard to change or can cause confusion as the HTML block is not obvious even when editing the page.
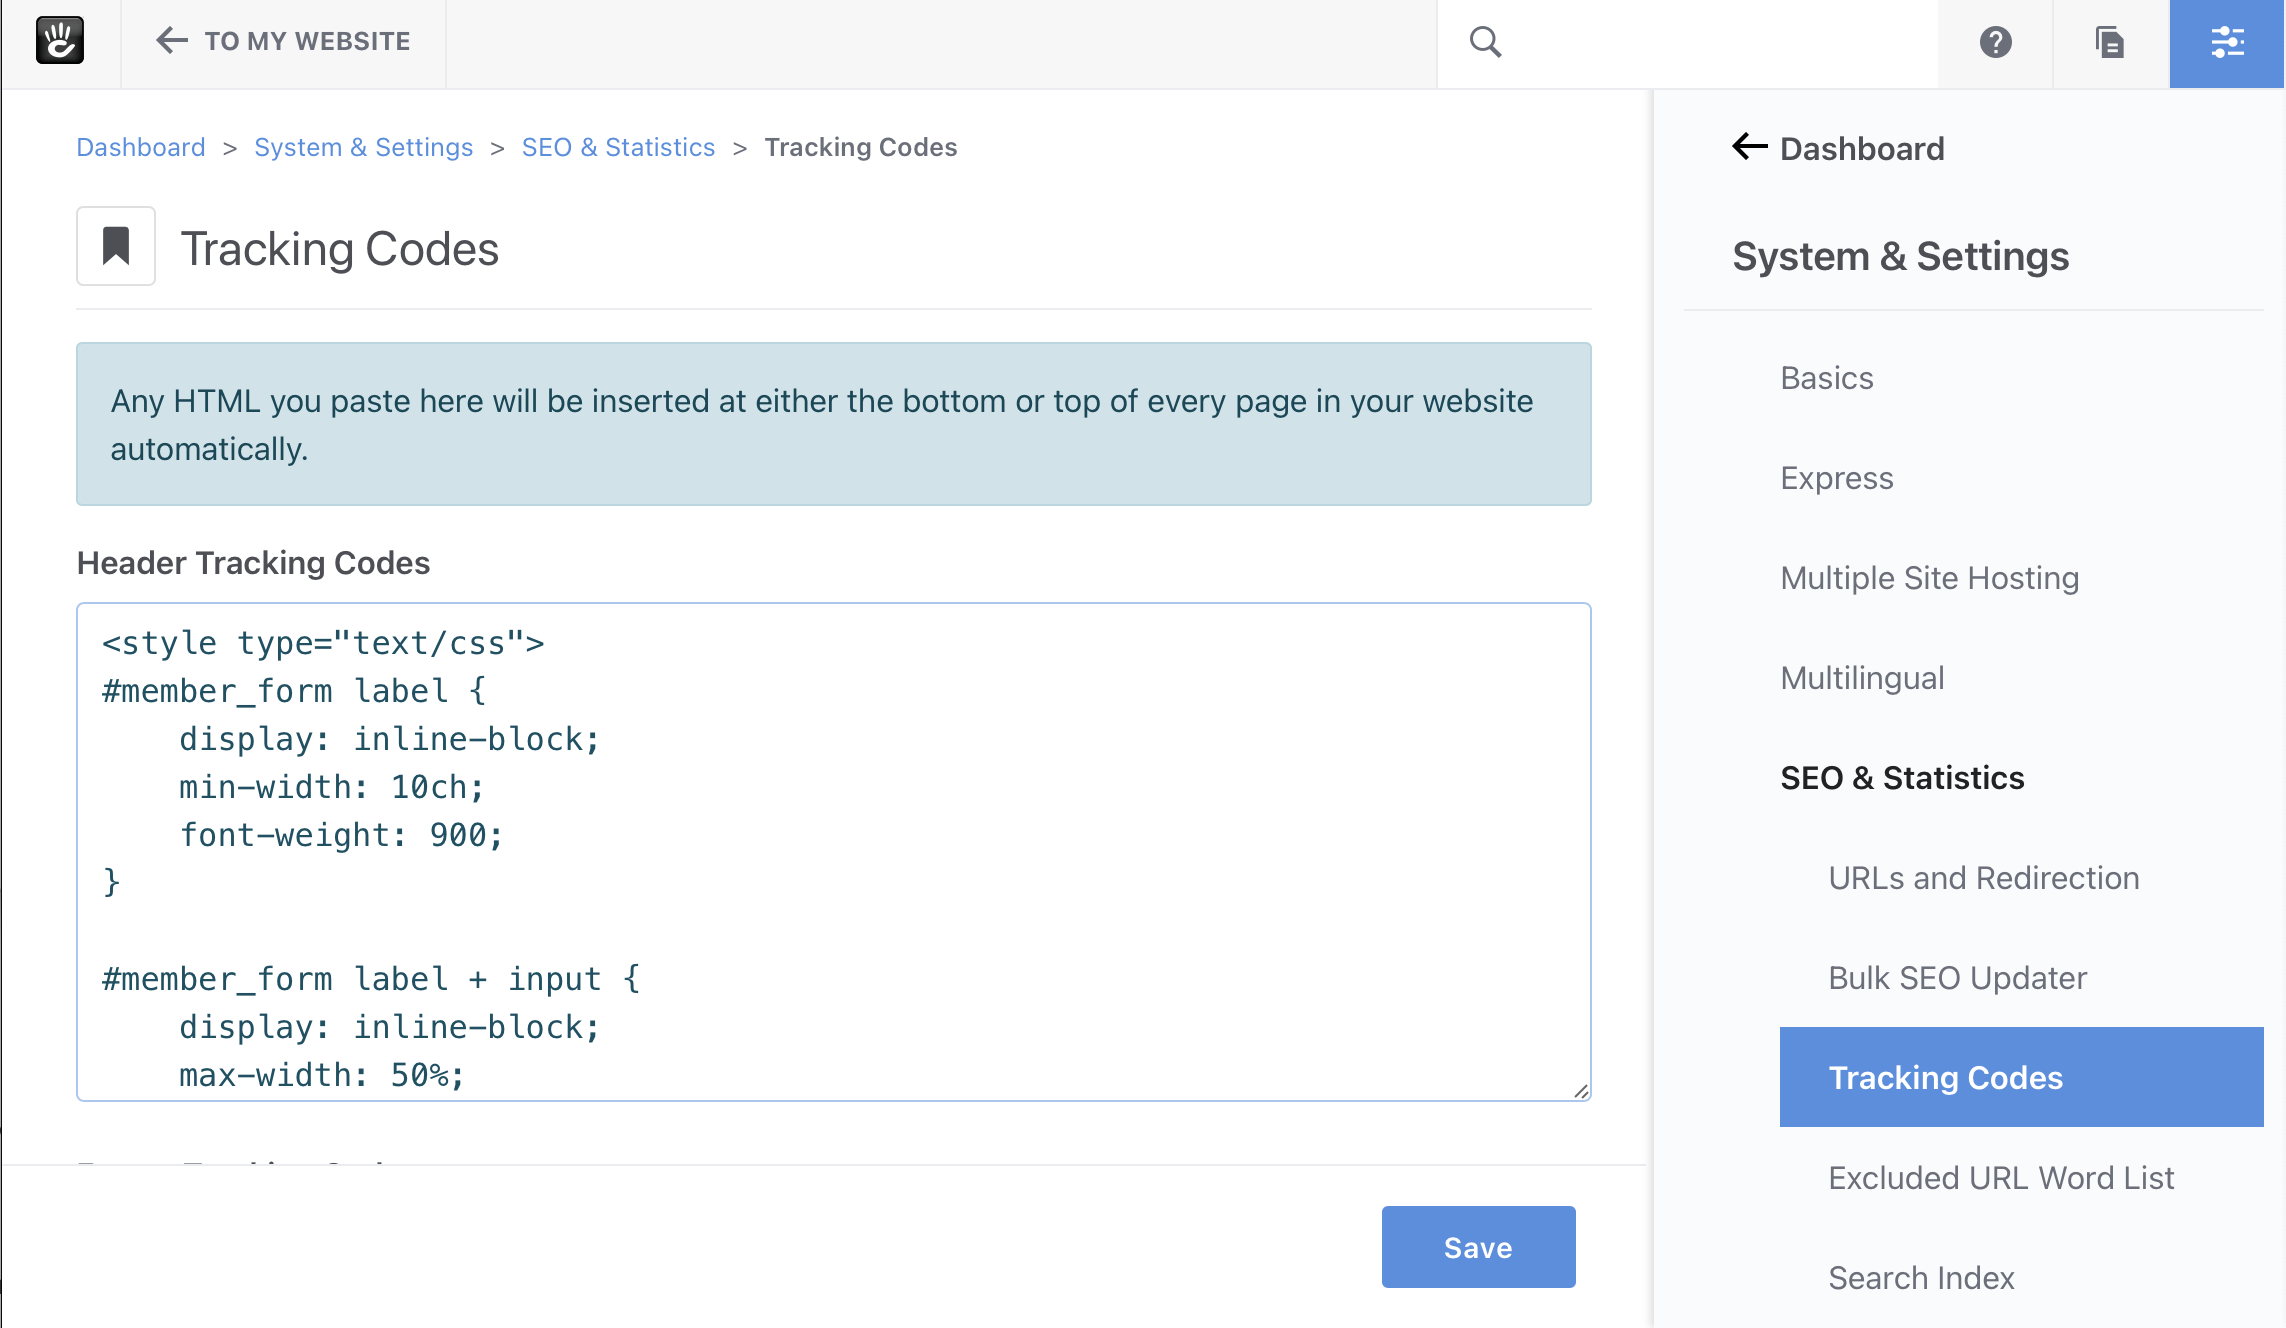
Site-wide attribute
Go to Dashboard > System & Settings > Tracking Codes and enter the styles wrapped in <style/> tags:
Theme custom CSS
Go to Dashboard > Pages & Themes and select the Customize option of the active theme. Select the skin and select Add Custom CSS. Add the rules to the modal window and save the changes. If customizing the default skin, save the changes as a new skin.