Using the Concrete Migration Tool Addon
The Concrete CMS Migration Tool is a powerful tool that allows users to migrate content one Concrete install to another. The tool is designed to simplify the process of moving content from one system to another by automating many of the tasks that would normally need to be done manually.
The Migration Tool works by exporting content from the source system into a standardized format (An XML file and a Zip file for files), then importing that content into the target system. To use the Migration Tool, you first need to identify the source and target systems you will be working with.
You can use install the Migration Tool on both the source site and the destination site by adding the package to the /packages directory.
The version to install depends on what version of Concrete CMS the sites are running:
| Concrete CMS (concrete5) Version | Compatible Migration Tool | Branch |
|---|---|---|
| <=5.6.x (legacy) | Addon Migration Tool (Legacy) | master |
| 5.7x through 8.x | Addon Migration Tool | master |
| 9.x+ | Migration Tool | master |
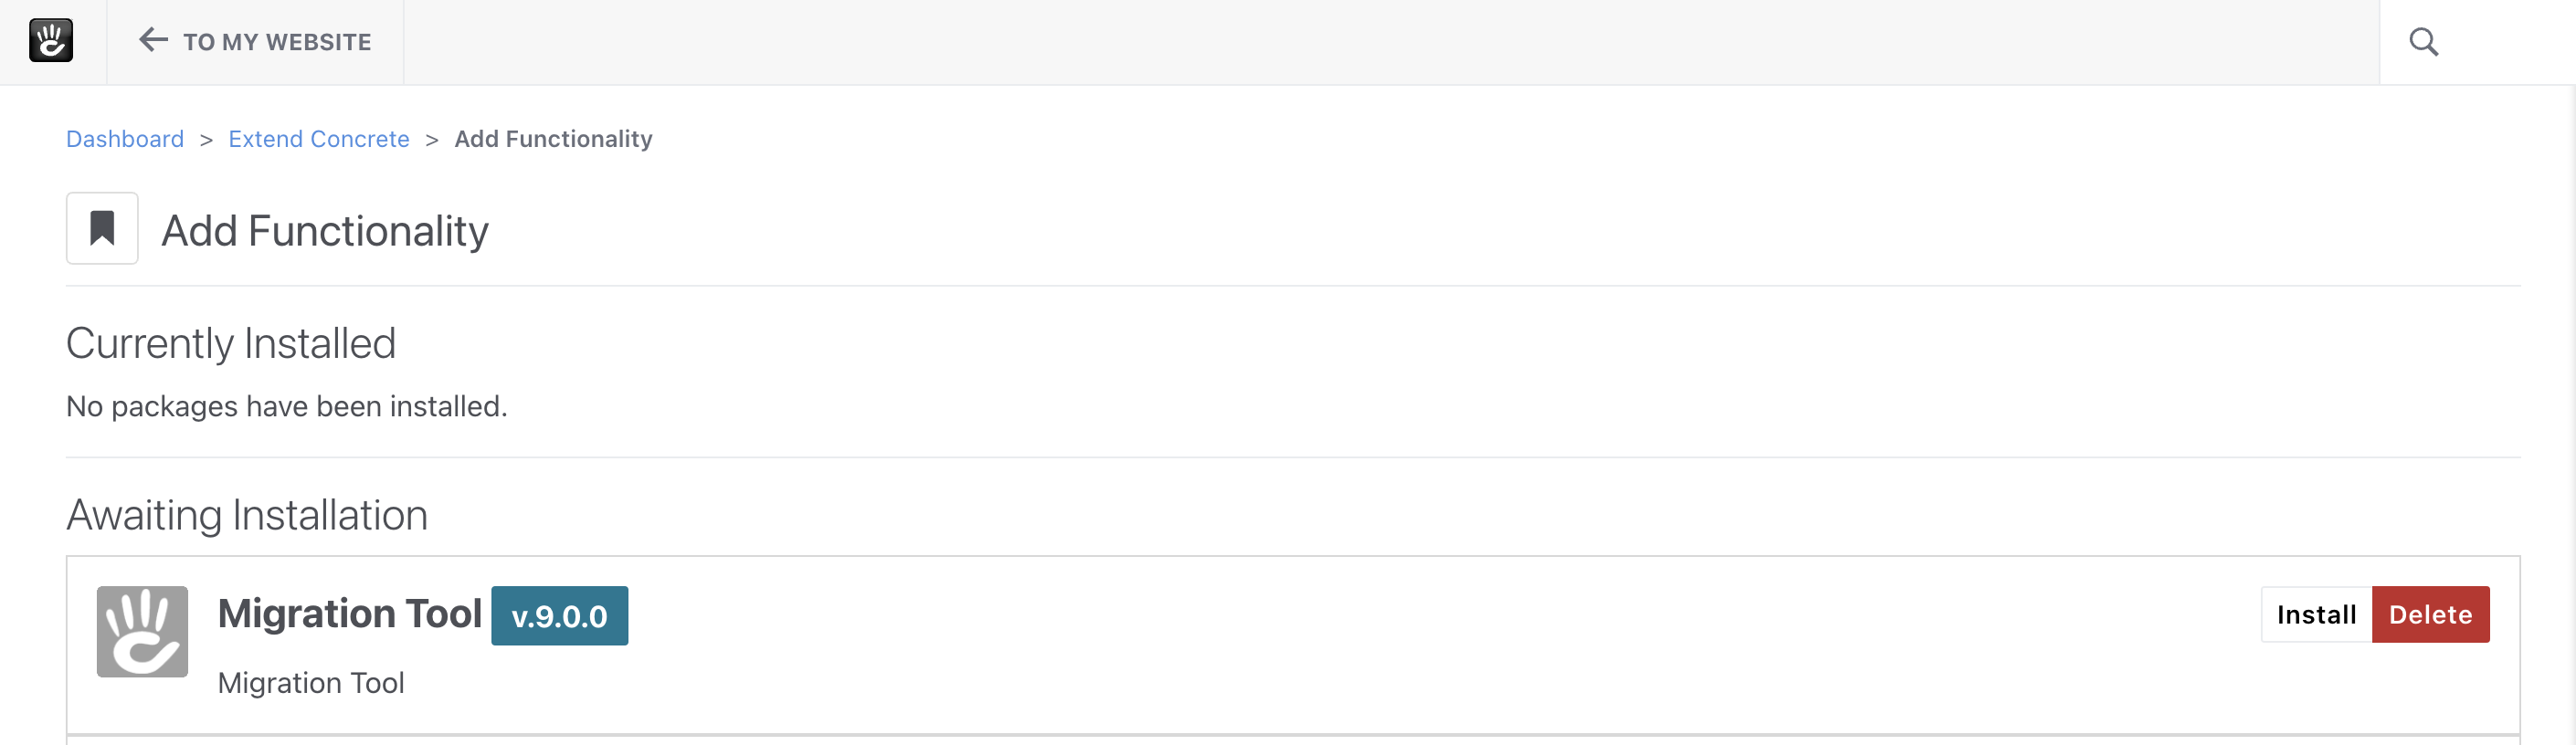
Install it by going to Dashboard > Extend Concrete and select the Install button:
Content you might export from the source site might include content like pages, blocks, files, and other content, etc. - you can specify what parts of the site to export during the export process. The tool will then convert this content into a standardized format (CIF or Concrete Interchange Format) that can be imported into the target site.
You can find the Import tool under System & Settings > Import Tool after installing it.
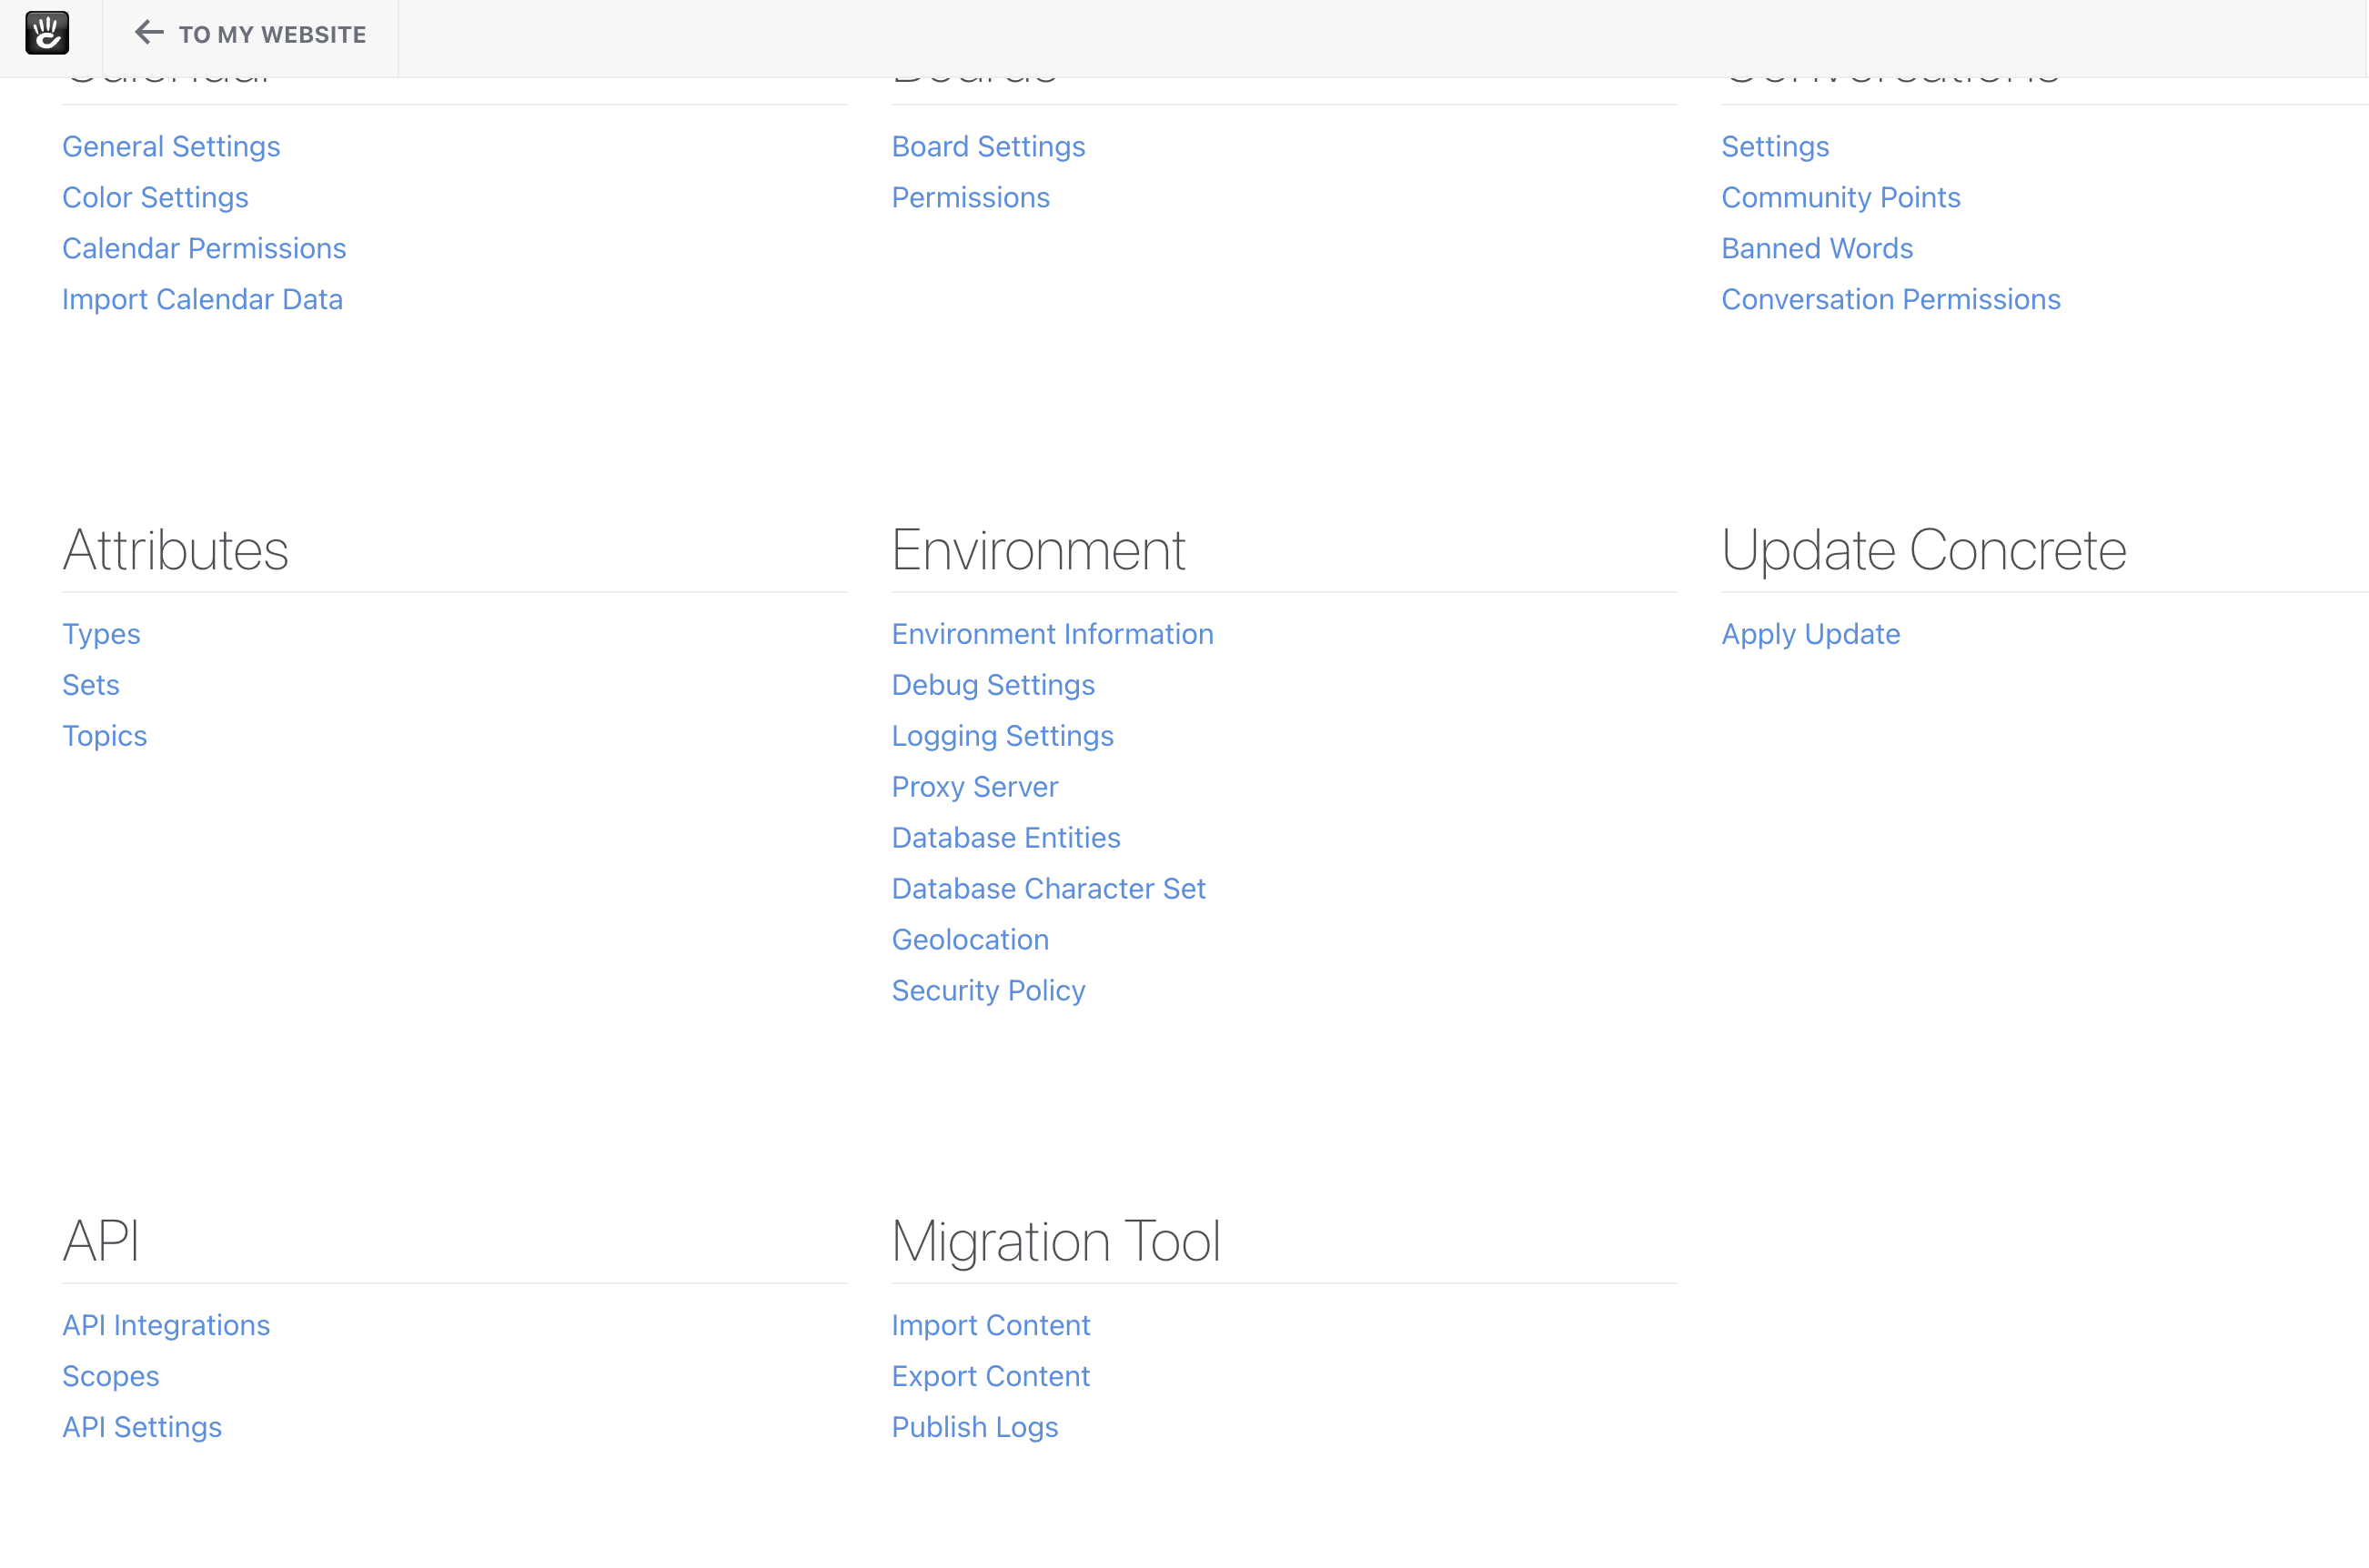
Exporting Content
To create an export, you will need to create a batch. You can create a batch by going to System & Settings > Import Tool > Export Content and then clicking the "Add Batch" button.
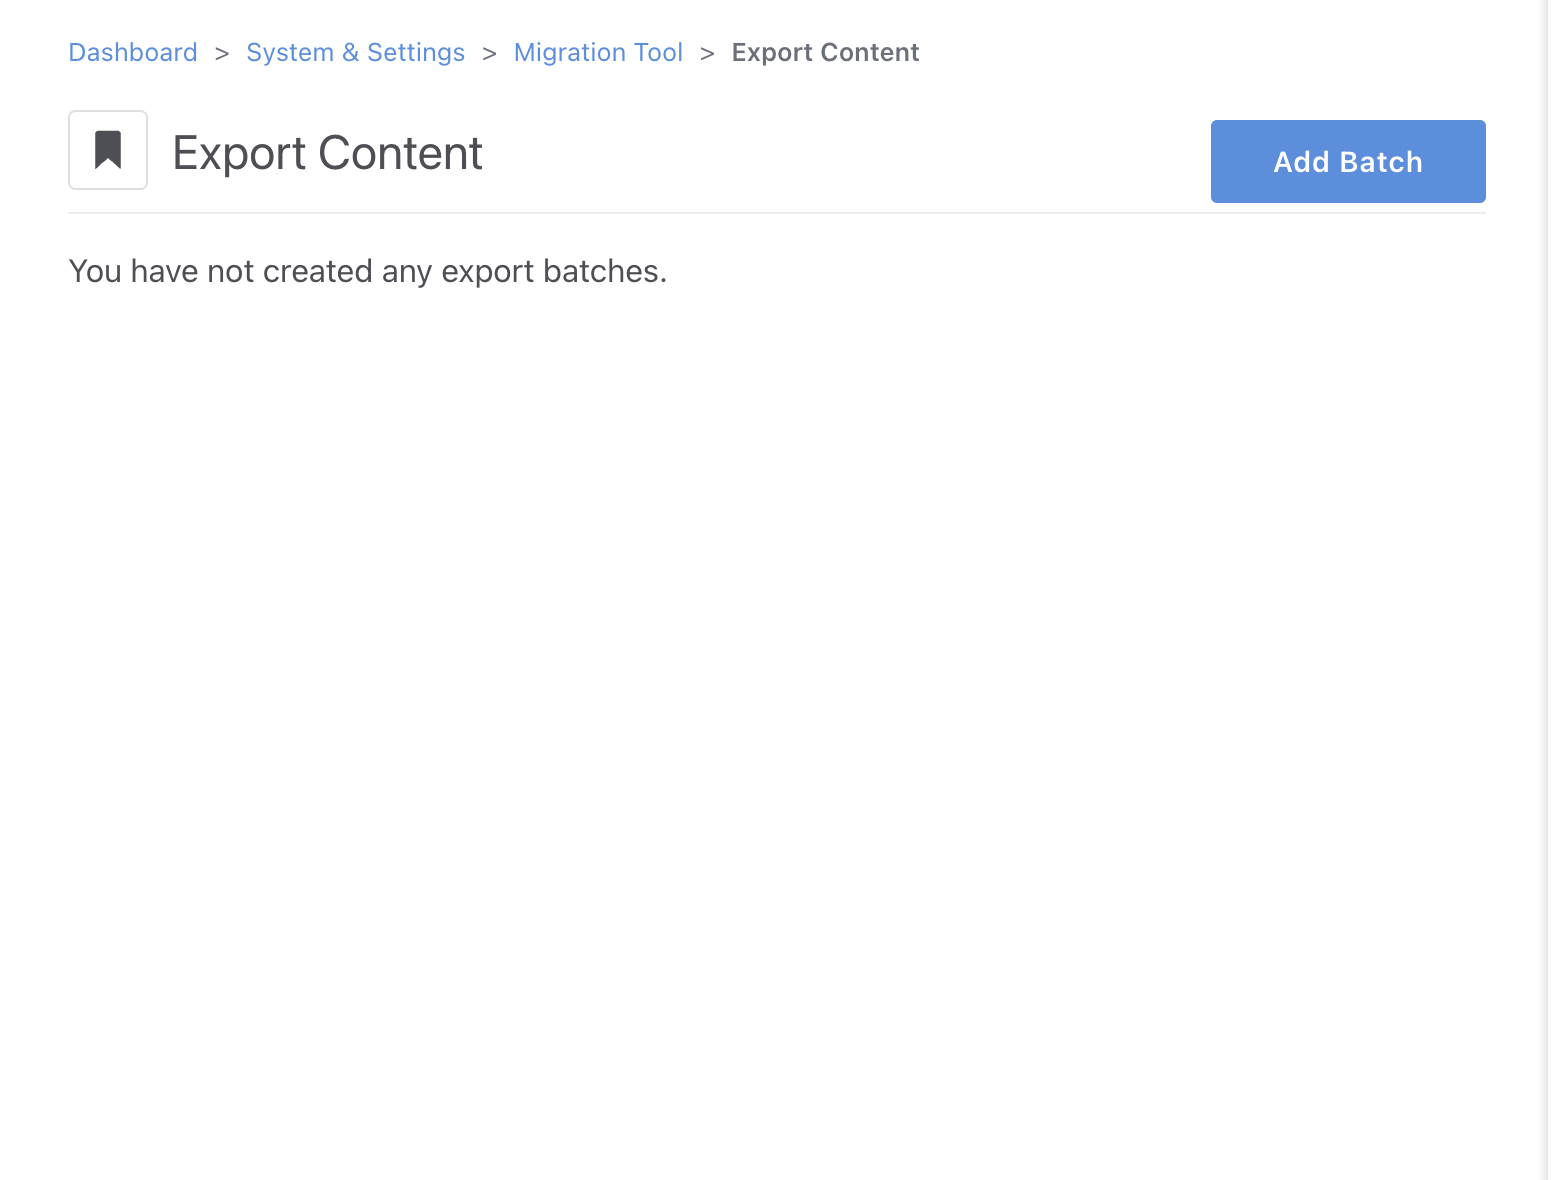
Once you've created the batch, you will want to specify what content you want to add to it.
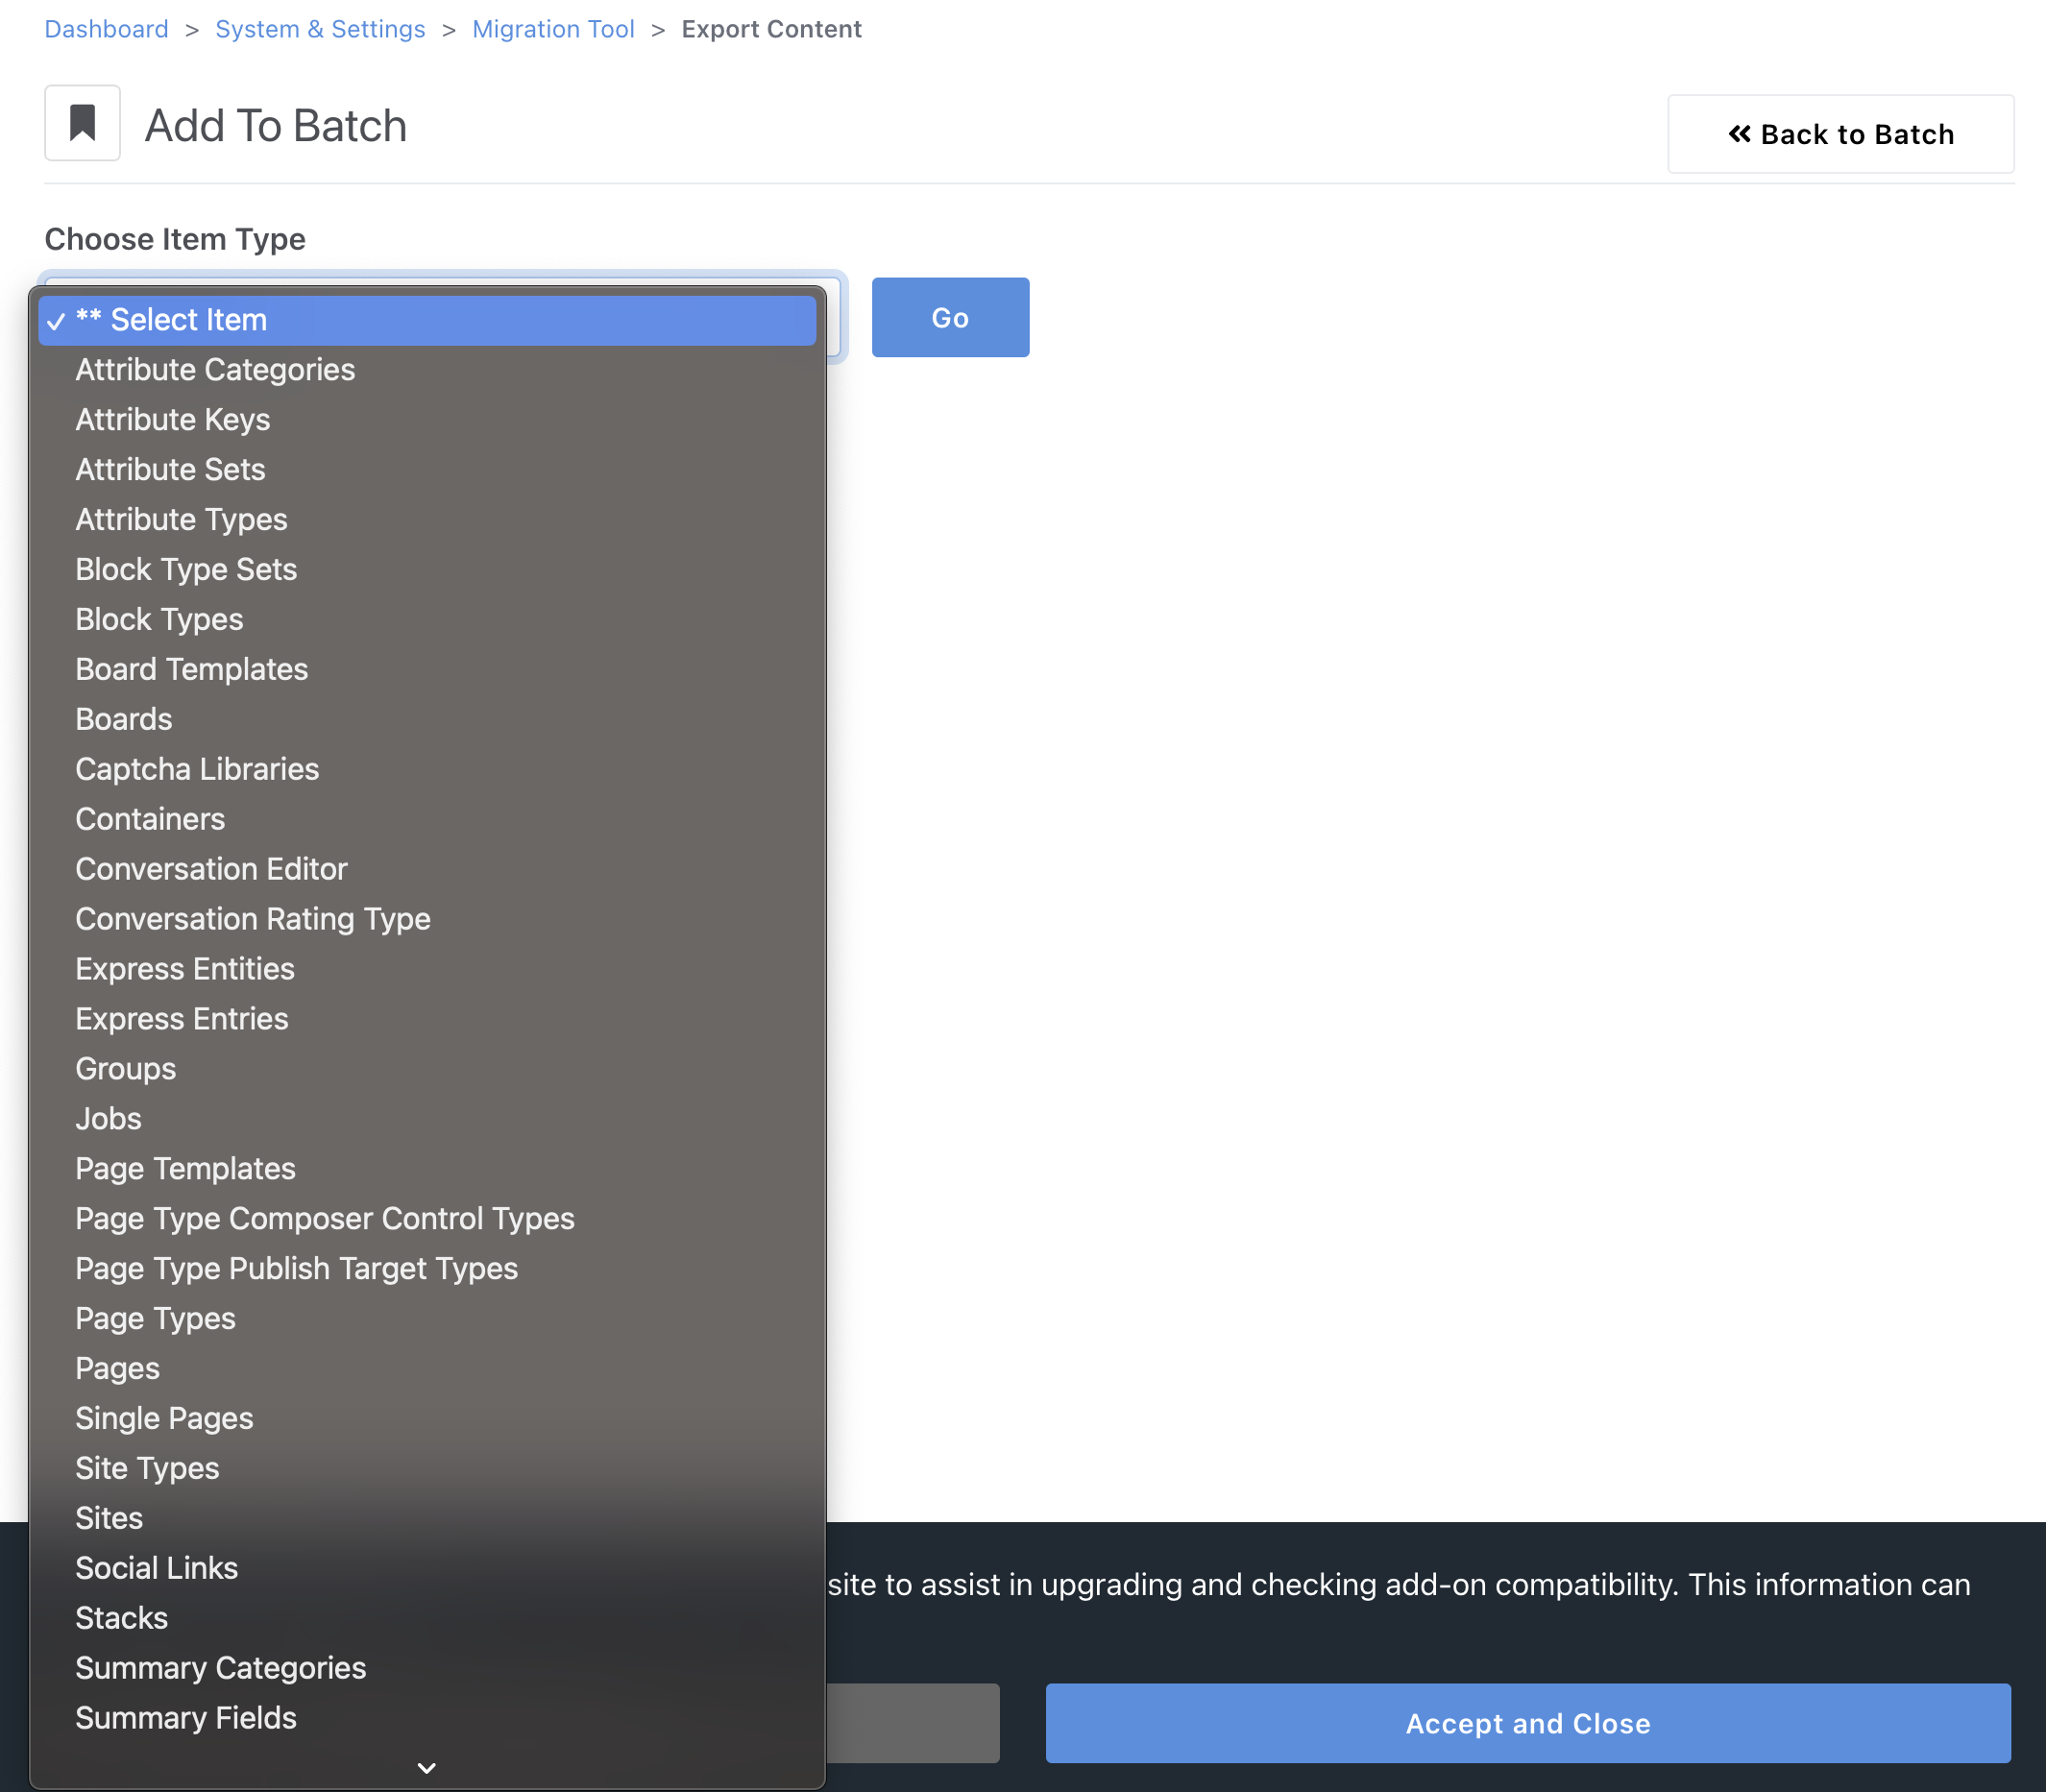
For instance, you will commonly want to export/import pages. Once you select pages, you get a similar set of options that you would in the Page Search section of the dashboard - this lets you narrow down what subselection of pages you want to include (or maybe you want to include all of them - then you can just search without setting any filters).
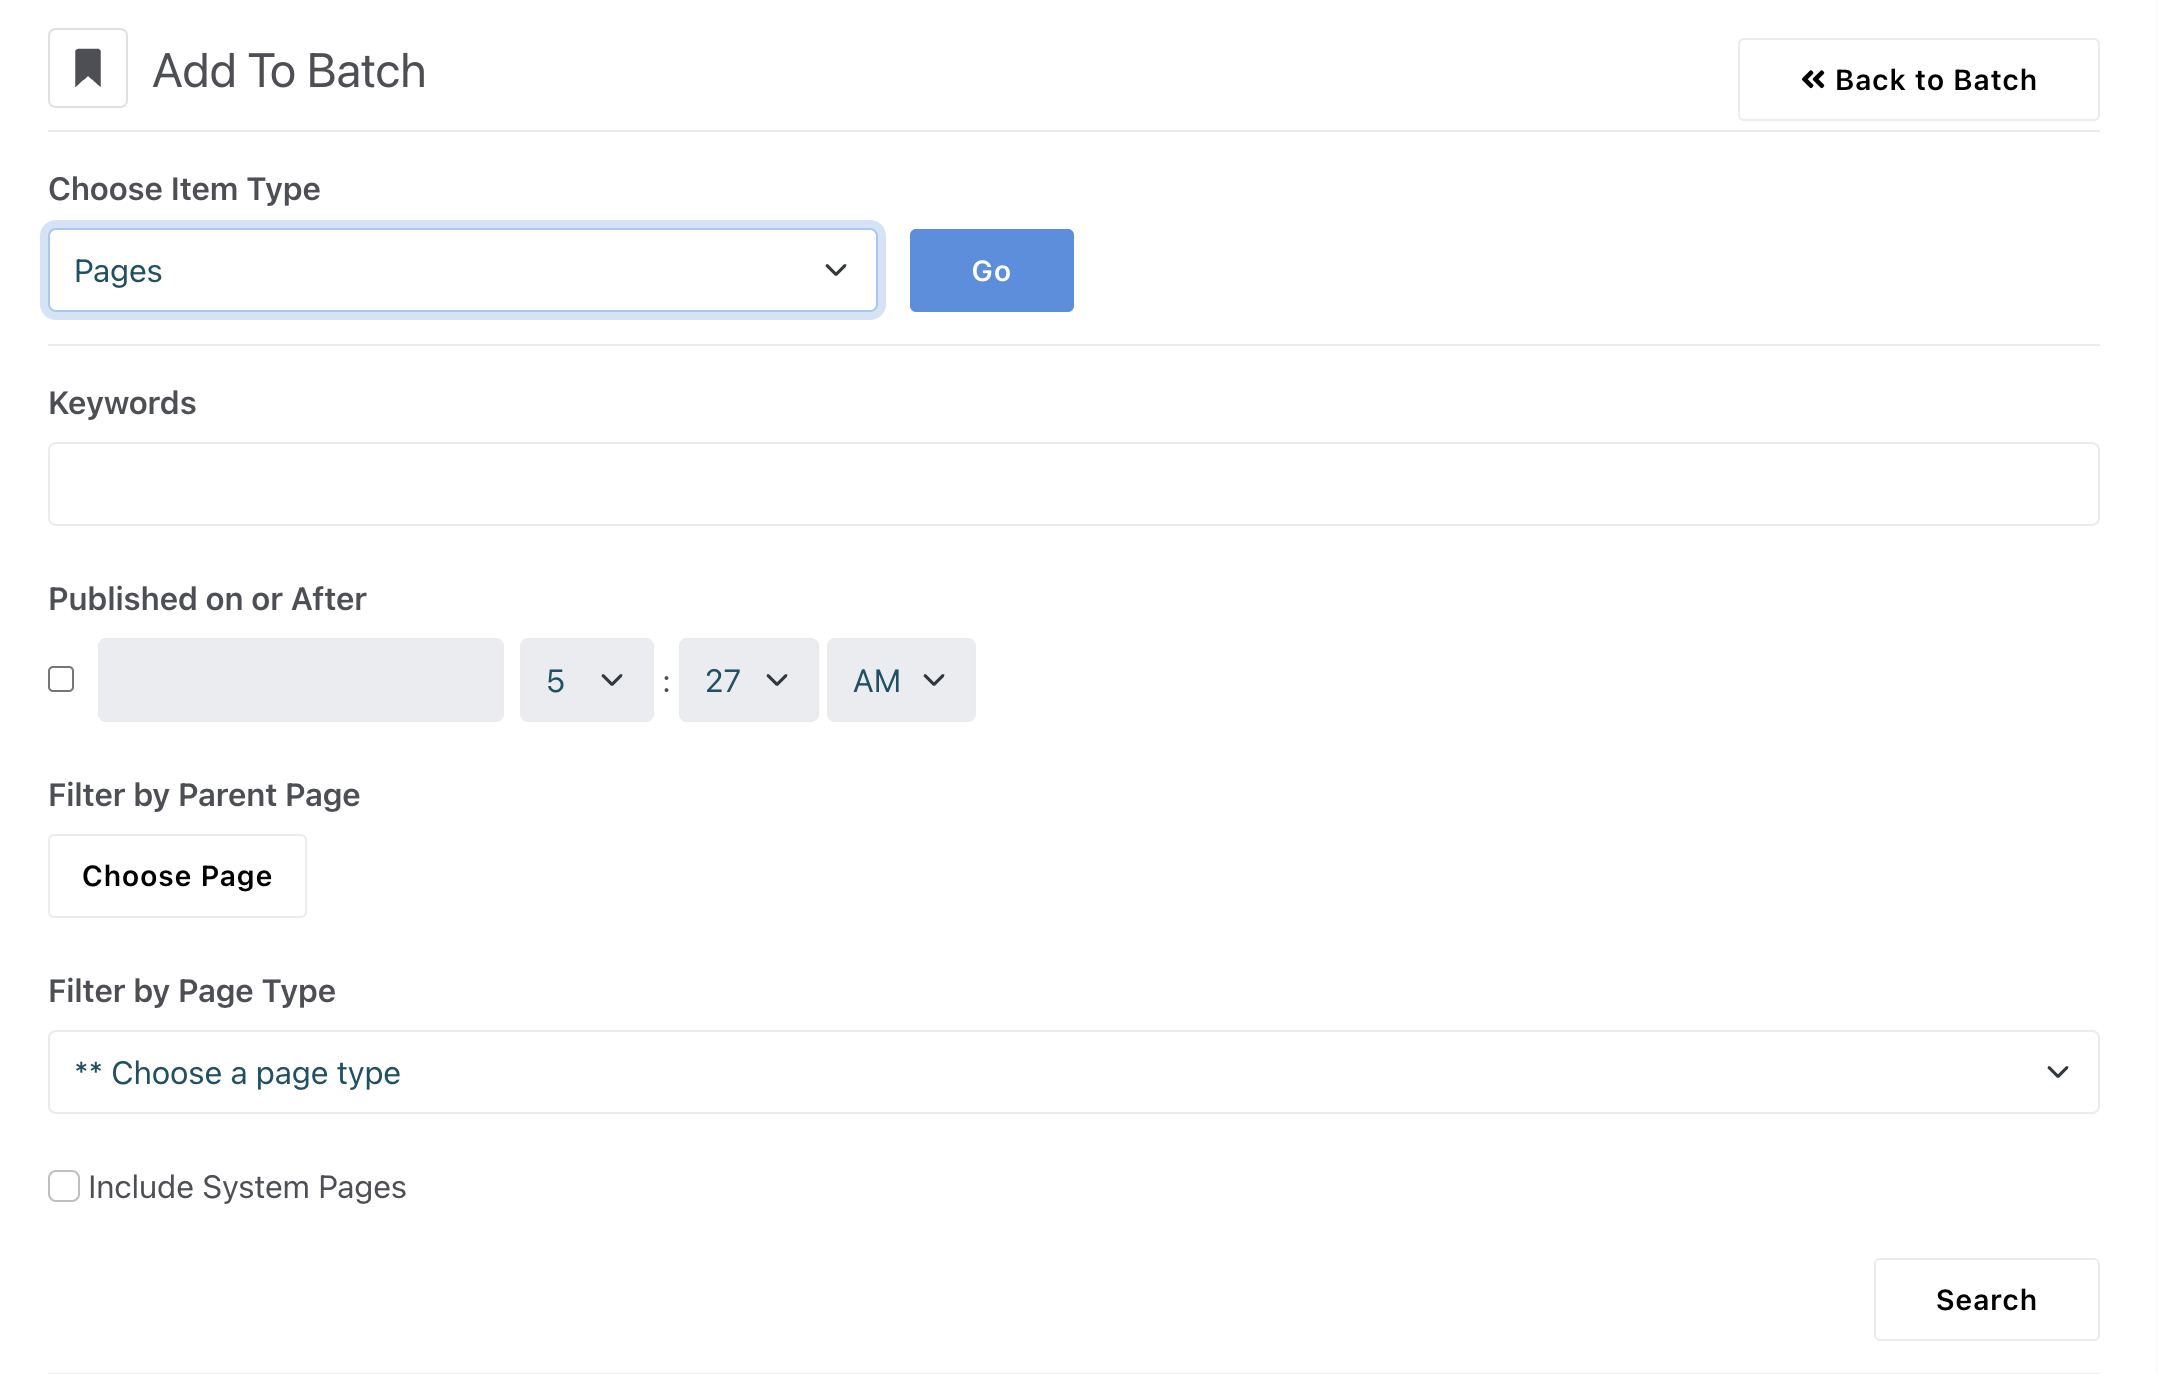
You can select all the results and then hit the "Add to Batch" button. Repeat this process of adding different objects like pages, stacks, users, etc. to the batch until you have everything you want to export batched together. Then, click the "Export Batch" button and download the XML file and the zip file provided by the tool. You will upload these to the destination site to complete the export.
Importing into the new site
After the content has been exported, you can use the Migration Tool to import the content into the target system. The tool will automatically map the content from the source system to the corresponding content in the target system, making it easy to ensure that everything is properly aligned. If the Migration Tool isn't sure what maps to what, it will give you an opportunity to set the mappings manually.
Importing page types
Block types, attribute, and other relatively simple objects will not be imported again if they already exist.
Page types, however, have a significant amount of content associated with them so they do not import the same way as simpler objects. They will be imported without checking to see if they already exist which can result in duplicated block type content on the page type, and duplicated controls in the forms. Be sure to manage their installation and upgrade process accordingly (see this example).