The Atomik Theme comes with some default Containers. You can find more information about these containers under Atomic theme documentation. To get its documentation, navigate to Pages & Themes -> Click on Settings icon of Atomik theme, here under Documentation click on Install if you haven’t already installed Atomik Theme documentation.
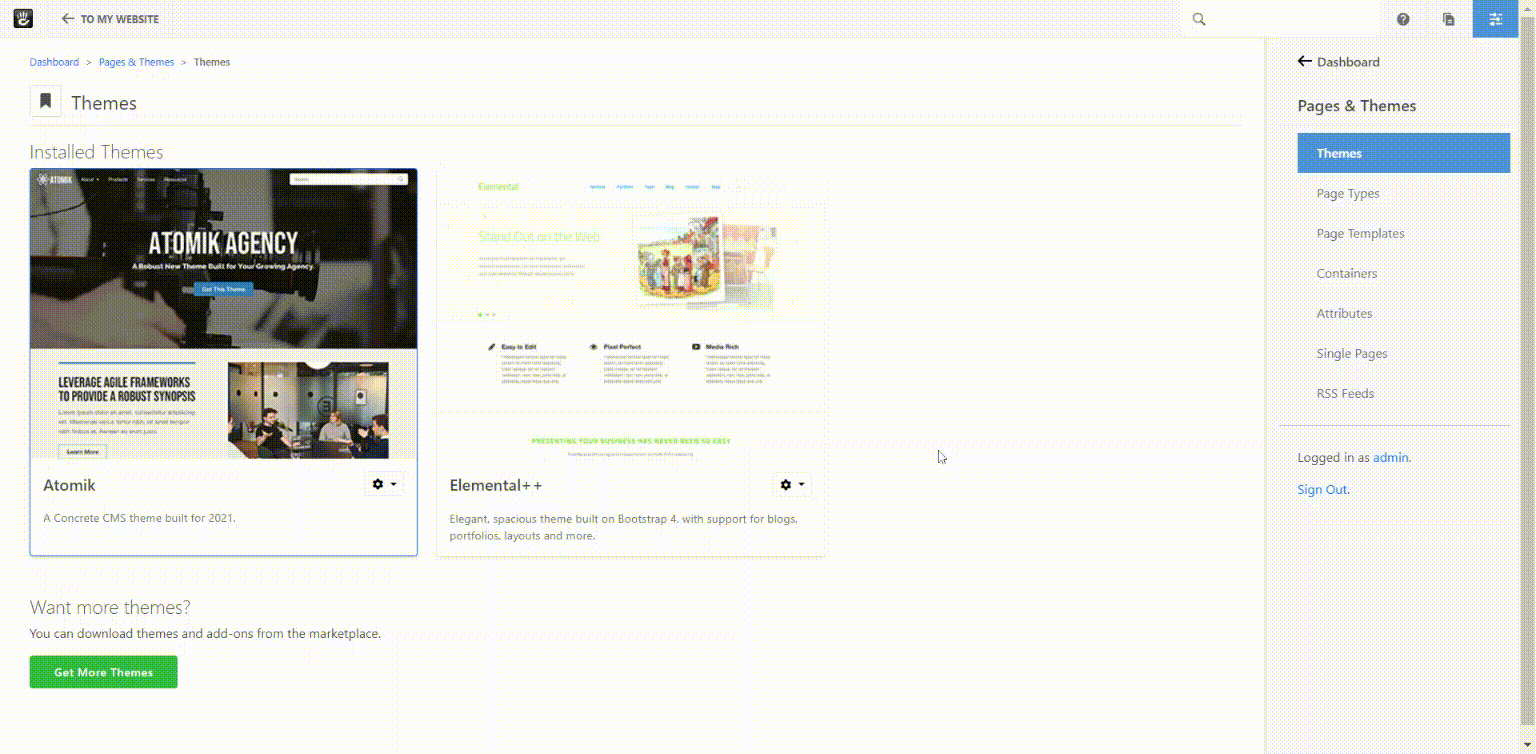
Once installed, you can walk through their documentation where you can find some containers which come with Atomik Theme.

Full PHP Example: Light Stripe
Here's an example of a container we use in Atomik. Hopefully this example gives you some idea as to what's possible with containers, and what might be useful.
The Light Stripe container uses the built-in light background color, and actually creates two rows within the container. The header row is only shown in edit mode, or if blocks are a part of it. The content row even enables the use of containers and layouts within it.
<?php

defined('C5_EXECUTE') or die("Access Denied.");

use Concrete\Core\Area\ContainerArea;

?>
<div class="stripe one-column bg-light">
<?php
$titleArea = new ContainerArea($container, 'Title');
if ($c->isEditMode() || $titleArea->getTotalBlocksInArea($c) > 0) { ?>
    <div class="container">
        <div class="row">
            <div class="col-md-12">
                <div class="stripe-title">
                    <?php
                    $titleArea->display($c); ?>
                </div>
            </div>
        </div>
    </div>
<?php
}
?>
<?php
$area = new ContainerArea($container, 'Body');
$area->setAreaGridMaximumColumns(12);
$area->enableGridContainer();;
$area->display($c);
?>