Adding and editing content
Adding and changing basic content and functionality with Concrete CMS is simple.
Switch to edit mode
1. Log in to the CMS (this URL will always get you to a login page: example.com/index.php/login).
2. Go to the page where you want to make an edit.
To start making changes to your page, click the pencil icon in the editing toolbar.

The page will reload into edit mode, you can tell because the pencil icon is now green.

Edit existing blocks
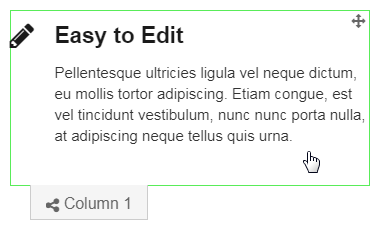
When you're in edit mode, any block or block area you have permission to edit will highlight with an outline when you roll over it.

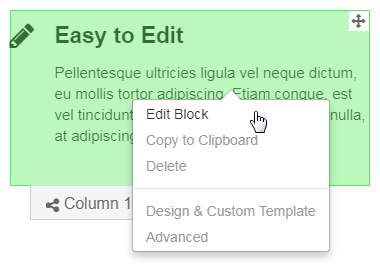
To edit a block just click on it and select Edit Block from the pop-up menu.

Add new blocks
You can also add new blocks, stacks, and saved clipboard blocks to the page, just click the + icon in the toolbar.

Clicking the + icon will put the page into edit mode if it isn't already.

A panel will slide out from the left side of the page, showing all the block types installed on your site. Simply drag a block from the panel to where you want it on the page. When you see a green highlight, you know you can drop the block there and it will show up on just this page. A blue highlight means it will show up on every page on the site that has this sitewide global block area.
Saving and publishing changes
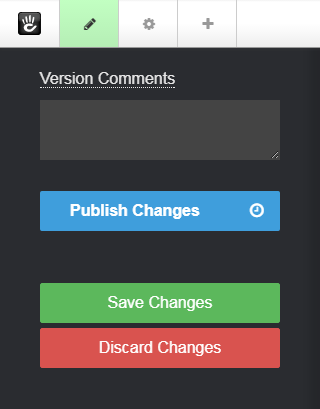
When you're done making edits, click the pencil icon again to leave edit mode. If you've made any changes to your site, a panel will slide out from the left side of the page, prompting you to publish, save, or discard your changes.

Version Comments - This field is where you can add some explanation of what changed while in edit mode. Comments will be really helpful if you need to roll back to an older version later.
Publish - Save these edits, and make them live for all guests to see, now.
Save Changes - Save these edits as a new version, but only show that new version to other editors/administrators who have access to edit this page. When they visit this page they will see this most recent version, but regular site visitors will only see the last published version.
Discard Changes - Throw away all the changes you just made, forever.
Publishing in the future
There are situations where you want to publish a page, but don't want to make it live immediately, instead you might want the page to go live on a specific day and time. This can be done by scheduling the publish changes.
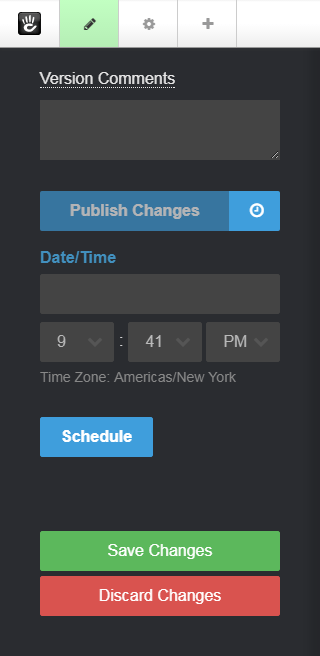
To schedule your publish changes, click the clock icon next to the Publish Changes button.

Clicking the clock icon displays a date picker and select drop-downs for choosing hour, minutes, and AM/PM for the publish date and time. Once you've entered your publish date and time, click the Schedule button.
