Scheduling tasks is also possible, both from your web server using a scheduler like cron directly, or from the UI.
Scheduling from the Command Line
Much like jobs, tasks can be scheduled using cron on the command line. If you want to run the “Reindex Content” for pages every Friday at midnight, for example, you’d add this entry to your crontab on your web server:
0 0 * * FRI concrete/bin/concrete task:reindex-content pages
Scheduling through the User Interface
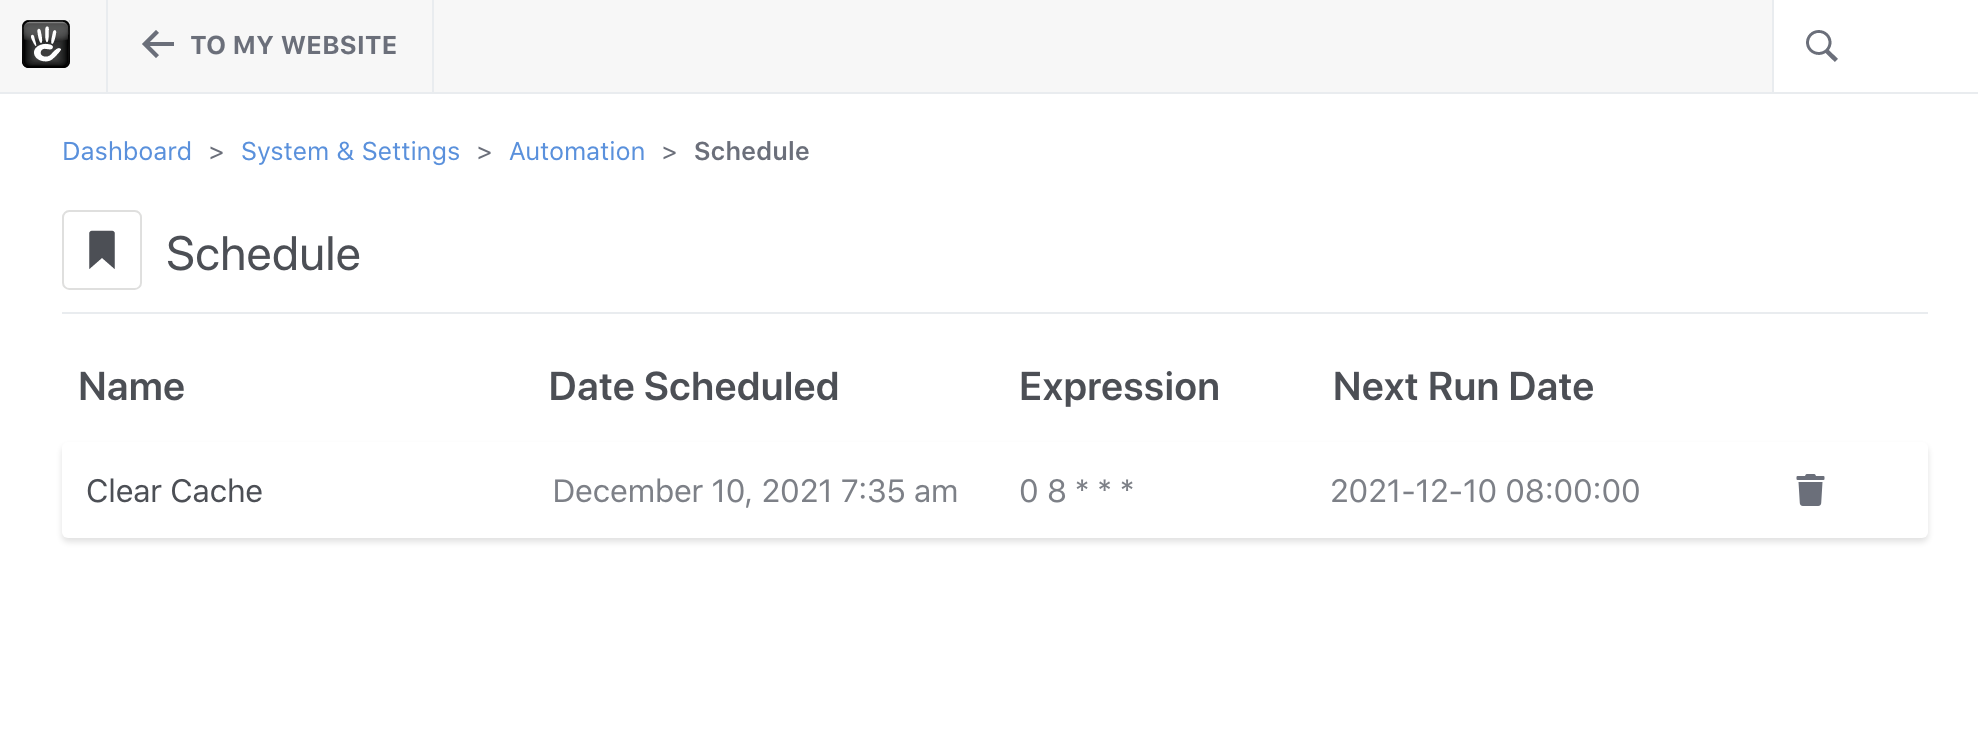
You may also schedule tasks directly through the user interface. This requires the same knowledge of cron scheduling syntax, but you don’t have to have server access every time you want to modify the schedule or add/remove schedule entries. **You will need server access the first time, in order to add a single main scheduling entry.**
Enable Task Scheduling
First, you’ll have to enable task scheduling from the Dashboard. On the Dashboard > System & Settings > Automation > Automation Settings, enable the “Scheduler”:

cPanel configuration
For cPanel based hosting the crontab command normally requires the PHP executable to be specified. The command will typically look like this:
/usr/local/bin/php -q /home/accountpath/public_html/concrete/bin/concrete concrete:scheduler:run >> /dev/null 2>&1
The same approach may be required on other servers.
Starting a Scheduled Task
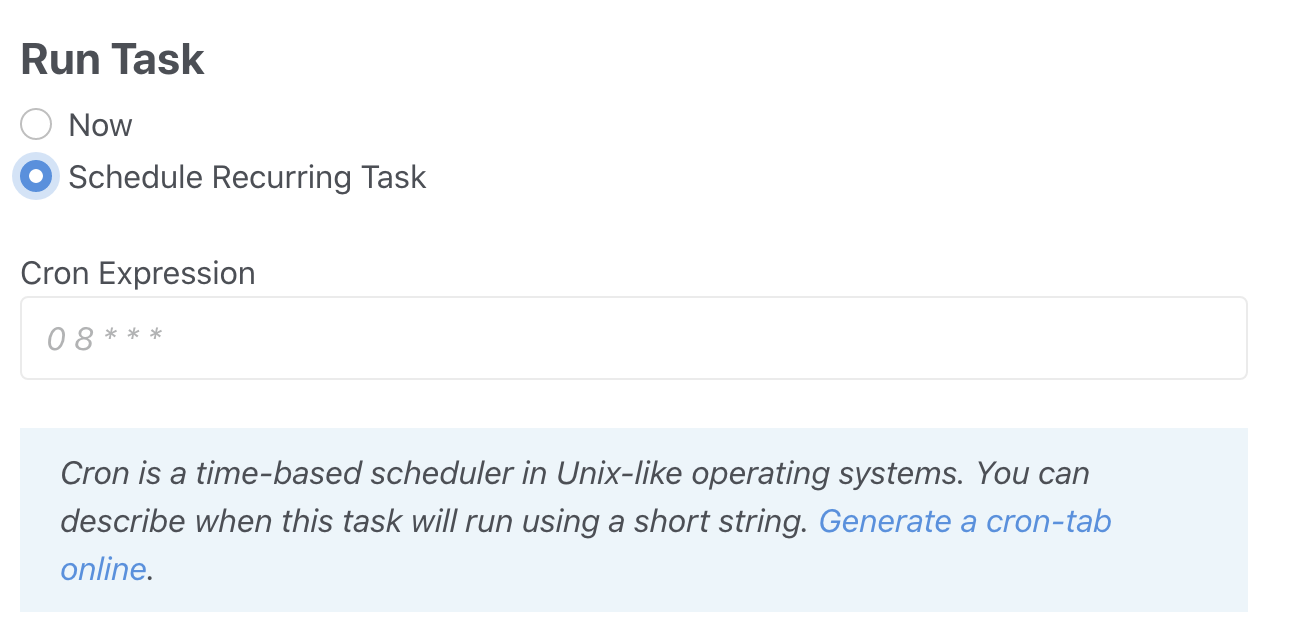
Starting a scheduled task is the same as starting a regular task – scheduling just adds an additional field to the task runner interface:

