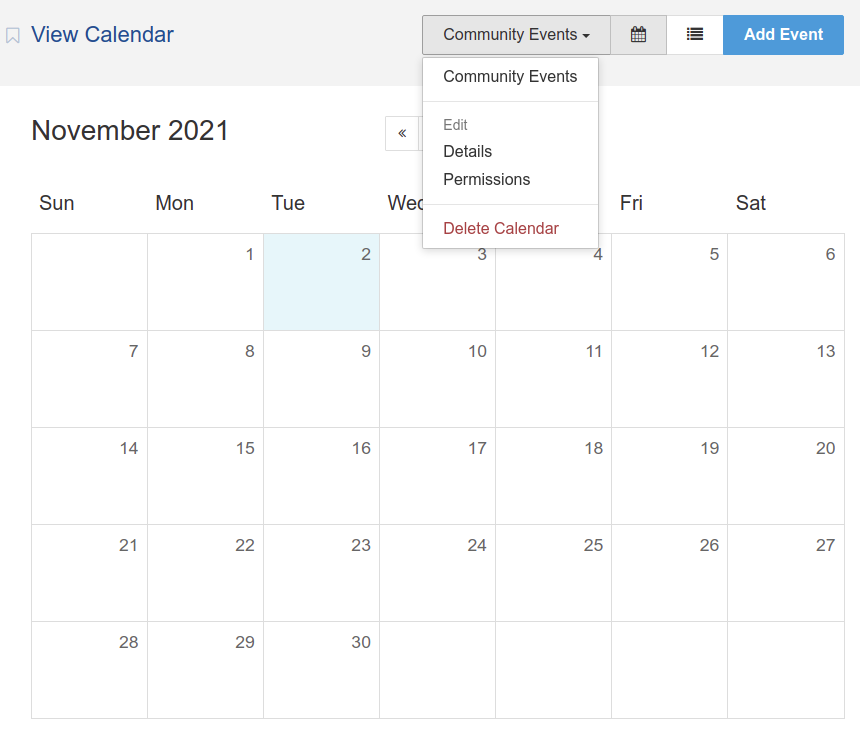
Details: brings up the form used when a calendar was created so that the calendar name and enable additional event details settings can be changed.
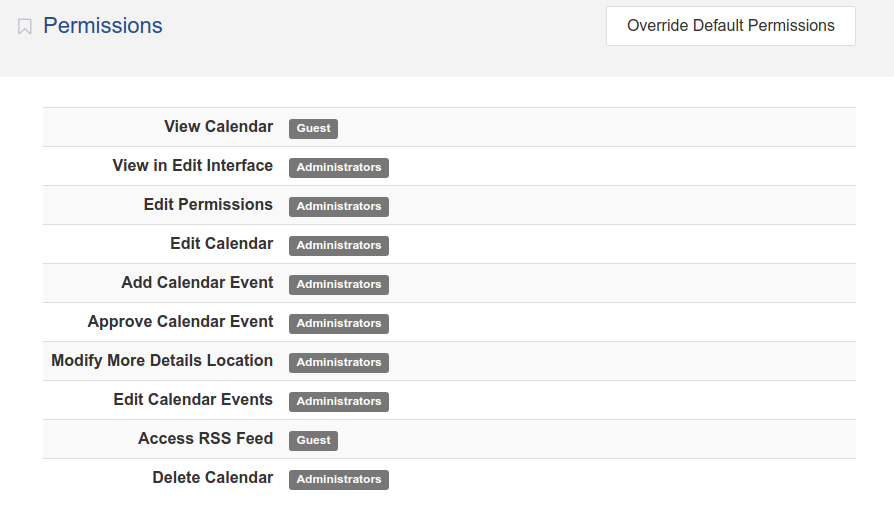
Permissions: The default calendar permissions can be overridden for a specific calendar by selecting Override Default Permissions. Once selected, the permissions for the specific calendar can be edited.
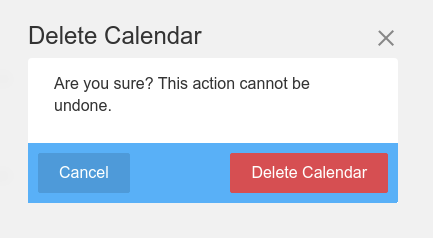
Delete Calendar: deletes the specific calendar and all events associated with it. This action cannot be undone!
Add Event creates a new event within the calendar you have selected.
Add Event Form
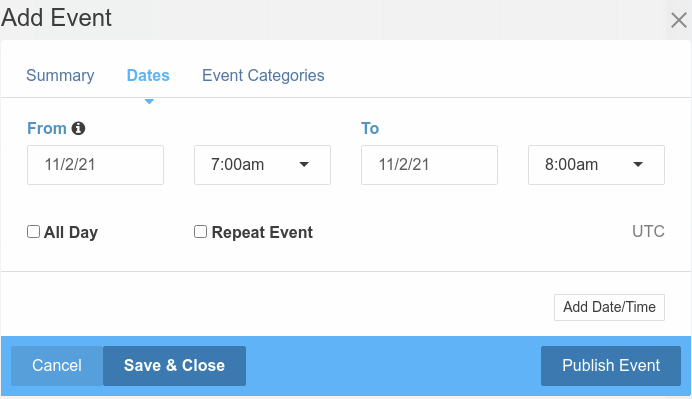
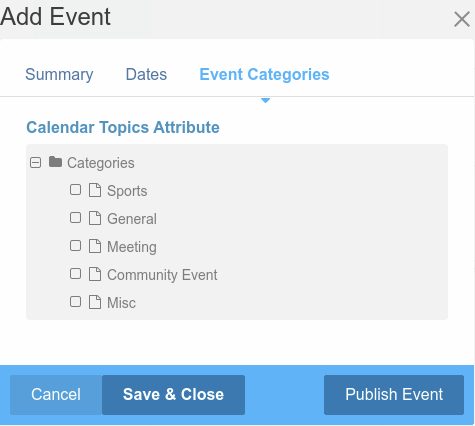
To create a new event, go to Dashboard > Calendar & Events > View Calendar and select the Add Event button which will activate an event form as a modal overlay. The overlay has two tabs required tabs: Summary and Dates. If calendar attributes have been created and assigned to an attribute set, the name of the set(s) will also appear as tabs. In the screenshot below, the Events Categories tab appears because of an attribute set of the same name.
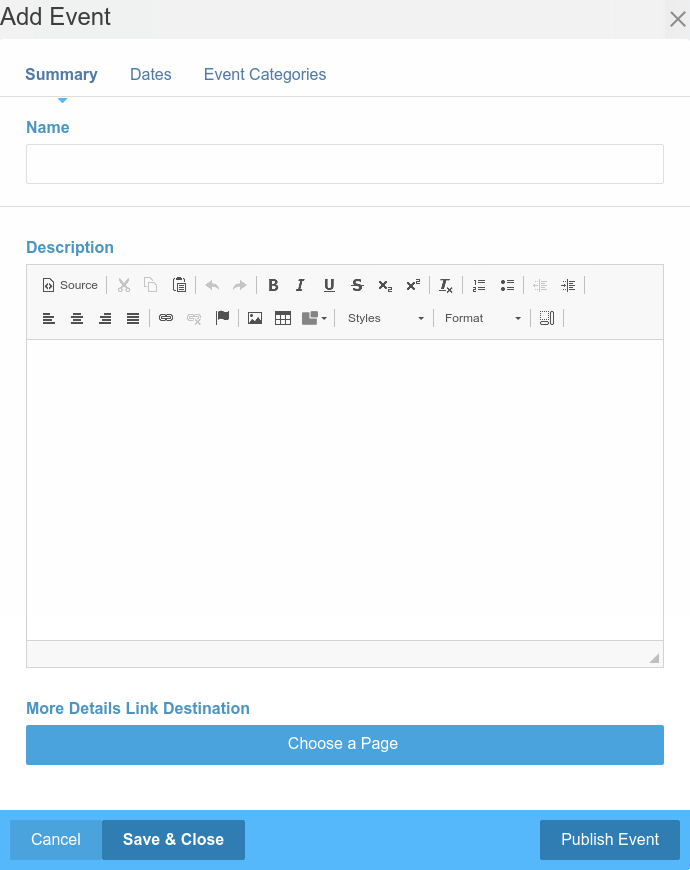
- Name: Displayed first in most views, keep it short to avoid line wraps.
- Description: This is a longer explanation for your event and is shown on roll over in most views.
- More Details Link Destination: if your event has more information than works in an overlay, or you’d simply like to link to a detail page with a signup form or other content, pick the page from the site map here.
Dates: Every event must have a start date, and may have an end date. If you pick All Day you will not have to pick a time but rather the event will fill the entire day (e.g.: Vacation)
