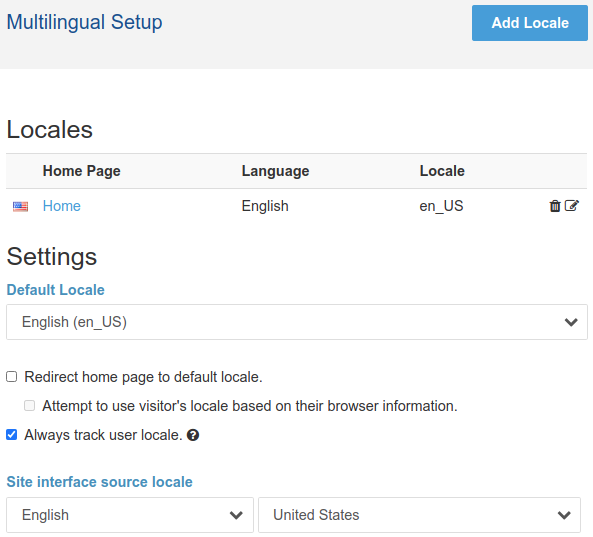
The multilingual settings makes it easy to create and manage separate page tree structures for each language. Each language — even the language your site is currently written in — will get its own parent page, under Concrete CMS's default "Home" page.
Initial Multilingual Setup
To begin using more than one language, select "Add Locale" in the Multilingual Setup page.
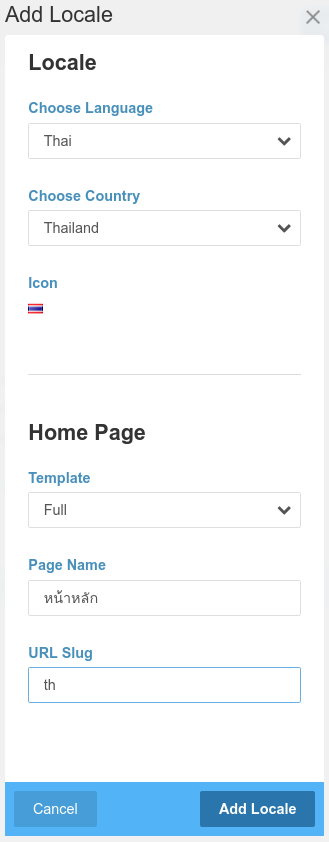
In the "Add Locale" modal window, select the language and country/region of the new locale as well as selecting a template, page name, and URL slug for the new locale.
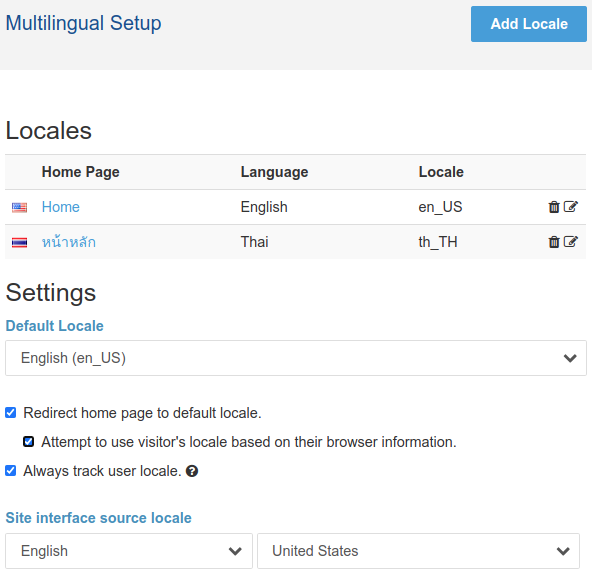
Decide which of the locales will be the default locale and choose whether to redirect visitors to the default locale when visiting the homepage or not. Concrete can attempt to detect a visitor's preferred language settings from the request headers made by the browser and, if a matching locale exists in your site, redirect the visitor to the homepage of that locale. Both of these options have been set in the example below:
After adding the new locale, the locale will show up at the top of the Sitemap in the dashboard. To see a sitemap for a different locale, just select another locale from the dropdown menu:
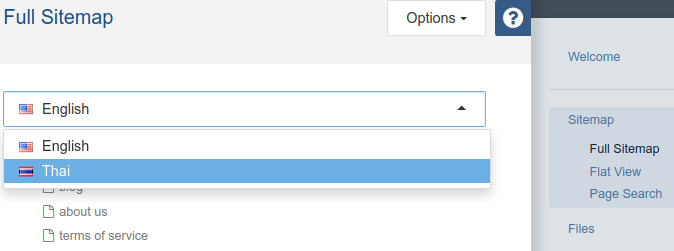
Once a new locale has been selected in the Sitemap, that locale's sitemap tree will be displayed:

Tip: A good idea might be to assign a page alias that conforms with web standards by adding a URL slug representing the locale. In the example above, /th was set as the URL slug for the Thai locale, but no URL slug is set for the default locale. By adding an /en URL slug to the default homepage, when people visit our site and view the English language homepage, the URL will be http://www.example.com/en and the Thai language homepage will be http://www.example.com/th.
If the website content of the two locales have no relationship to each other, that may be all you need to do. You can build out the content for both locales by just switching between the locales in the sitemap.
However, most multilingual websites have similar or parallel content in multiple languages. The following pages in the Multilingual section of the dashboard help manage parallel content in multiple locales.
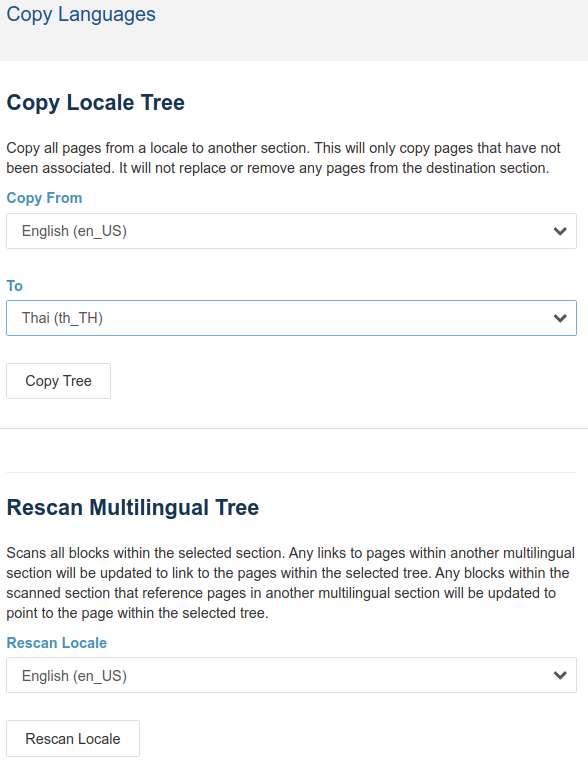
Copy Languages
If your website has started out with content in one locale and you want to create a translated version of your website, you can copy the locale tree from one locale to another and create an association between them to speed up the process. This function will copy all pages from a locale to another section, but will only copy pages that have not been associated between locales. It will not replace or remove any pages from the destination section.
After a locale tree is copied to a new locale, there may be links in the new locale back to pages in the old locale. In order to update the links to point to the pages within the new locale tree, use the Rescan Multilingual Tree tool.
Page Report
The Page Report tool shows which pages are linked across locales. If you copied the tree from one locale to another, all pages should already be mapped between the two locales, as in the example below, and the copied pages can now be translated:
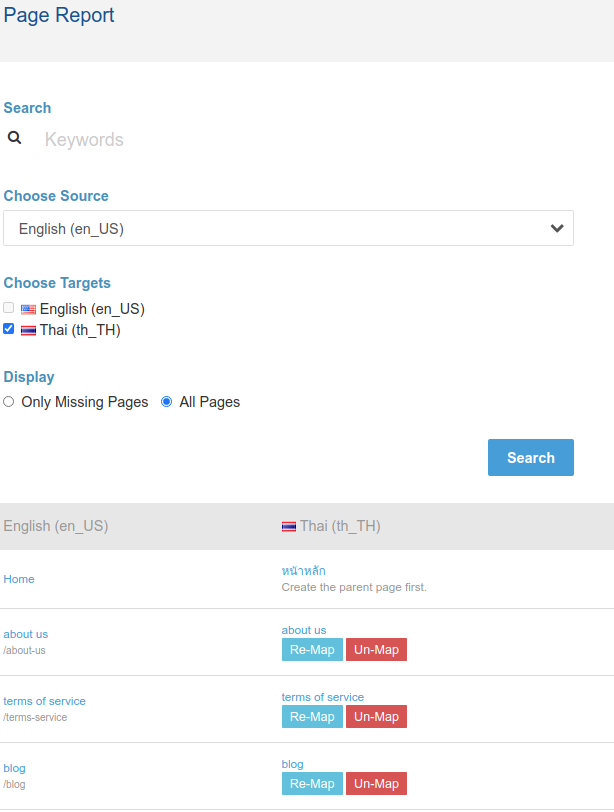
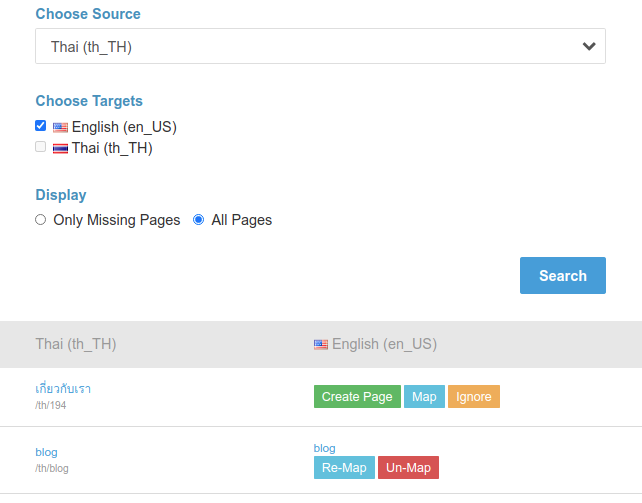
When a tree has not been copied, running the report will show which pages do not have an associated page in the other locale along with shortcuts to create an associated page in the other locale, map the page to an existing page in the other locale, or to ignore the lack of an association. Existing associations can likewise be re-mapped or un-mapped from this interface.
Translate Site Interface
Concrete supports a multilingual interface as well. The best way to get started with localizing the core interface (and add-on and theme interfaces as well), is to download the community translation files from translate.concretecms.org.
For any languages which are not translated, or if you want to override some of the community translation files, you can use the Translate Site Interface.
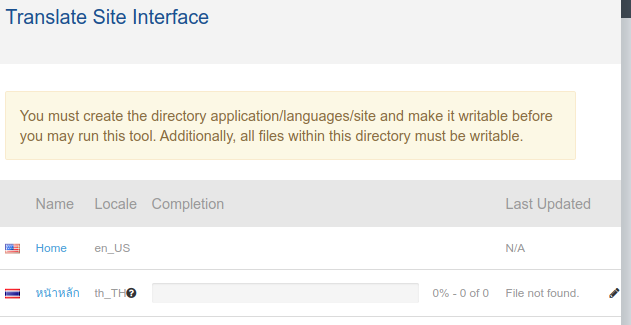
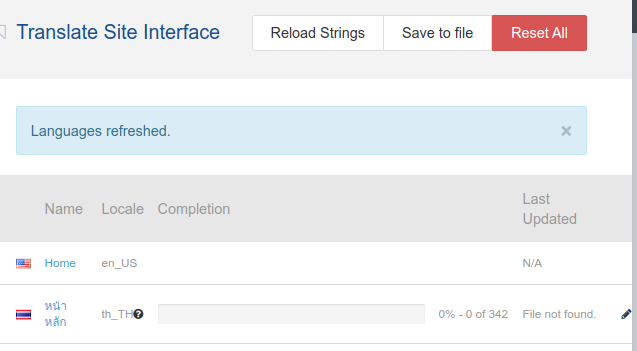
All translation files are stored in the application/languages directory. You will need to ensure that this directory is writable by the webserver and contains a subdirectory named site in order to use the Translate Site Interface. Downloaded community translation files are stored as subdirectories with a name that matches their locale. If the correct directories have been created and are writable by the webserver, select the Reload Strings button to gather all of the untranslated strings from the default locale, then select the edit icon next to the locale you wish to translate.
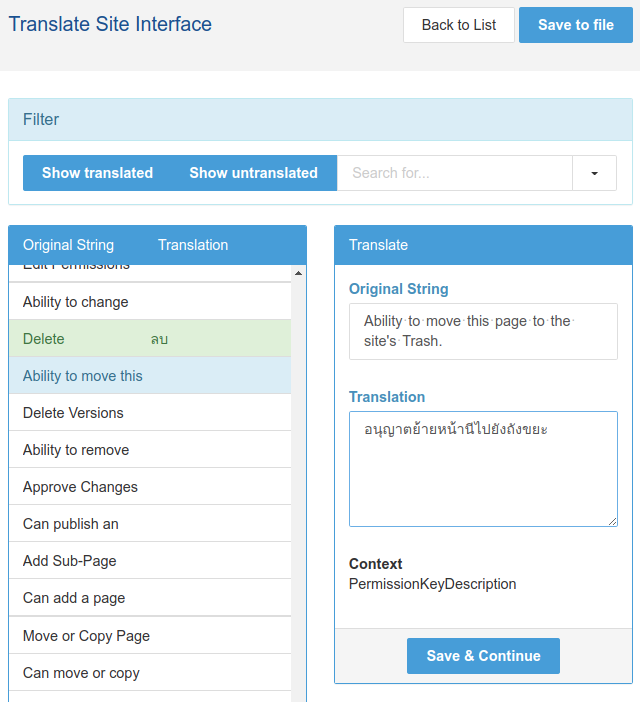
In the translation interface, you can select the string you want to translate on the left and enter the translated string on the right. Not every string needs to be translated; if no translation exists, the default locale string will be used.
