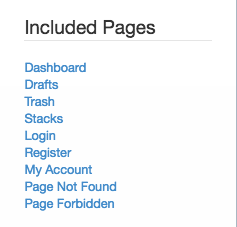
The Auto-Nav block gives you a tree based navigation for your website.
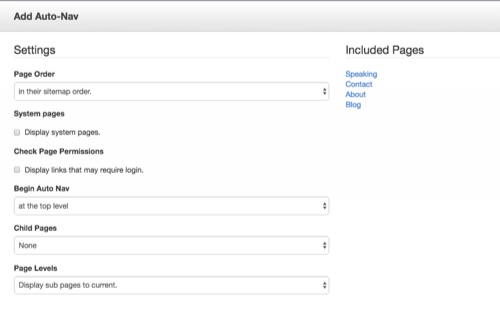
The auto-nav block will return a list of pages in tree form matching the settings you use.
You can then use a custom template to control formatting of the menu.
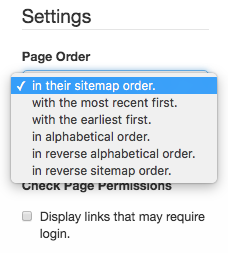
Pages should appear: In this drop-down menu you select how you want the pages to be ordered in the nav. They can be arranged how they are in the sitemap, chronologically/reverse chronologically, or alphabetically/reverse alphabetically.
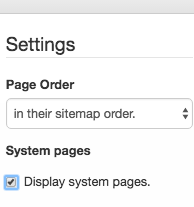
System Pages
Display Pages: Here's where you choose what level of the tree you want to start displaying pages.
Viewing Permissions: You can choose to display pages that users may not actually have access to. If a visitor clicks on a link to a page they do not have access to, they will be prompted to login with an account that has access before they can continue.

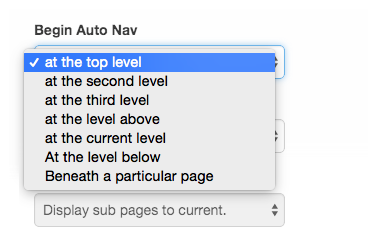
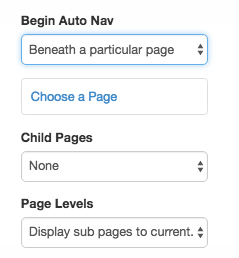
Child Page Choose the amount of Child pages you want displayed, if any.
- None: This will display only the top level of the nav you've selected.
- Relevant sub-pages: Only displays the sub-pages relevant the page you're currently viewing.
- Display breadcrumb trail: Shows only the trail of pages that led you to the current page.
- Display All: Shows all sub-pages.
Page Levels: Here's where you choose exactly how many sub-pages are shown.
- Display sub-pages to current: Shows all sub-pages that led you to the page you're currently viewing.
- Display sub-pages to current+1: Shows all sub-pages that led you to the page you're currently viewing, plus another level below the page you're viewing.
- Display all: Shows every sub-page attached to every page under the level of nav you've chosen.
- Display custom amount: You choose how many levels of sub-pages you want your nav to display.
A preview of your Included Pages will appear on the right hand side of the block edit interface.
